I’ll assume everyone’s done the homework and read the Leatherwork from Hedeby post. If not, nip back and have a quick read. Check out the first couple of comments between Steve and me as well. I’ll wait…
This post is the first of a series about making my interpretation of a Hedeby quiver. It’s a combination of plates 22 and 25-27, trying to make sure all the pieces look at least vaguely like the ones found, knowing that there are two (or more) quivers in all the bits and in theory, paying attention to the presence or absence of thread marks on the leather.
This first part will be about making a last and the patterns for cutting the leather.
Here’s a dimensioned version of the reconstruction a. from figure 22.

Hedeby quiver, front and right side view.
Dimensions and the location of the side seam and heights of the suspension lugs are from the text on pp 36-7. The teardrop shaped piece from figure 27. 2a or b isn’t shown, I’ll get to it in a while. I had a theory and hoped it would fall into place during the pattern making.
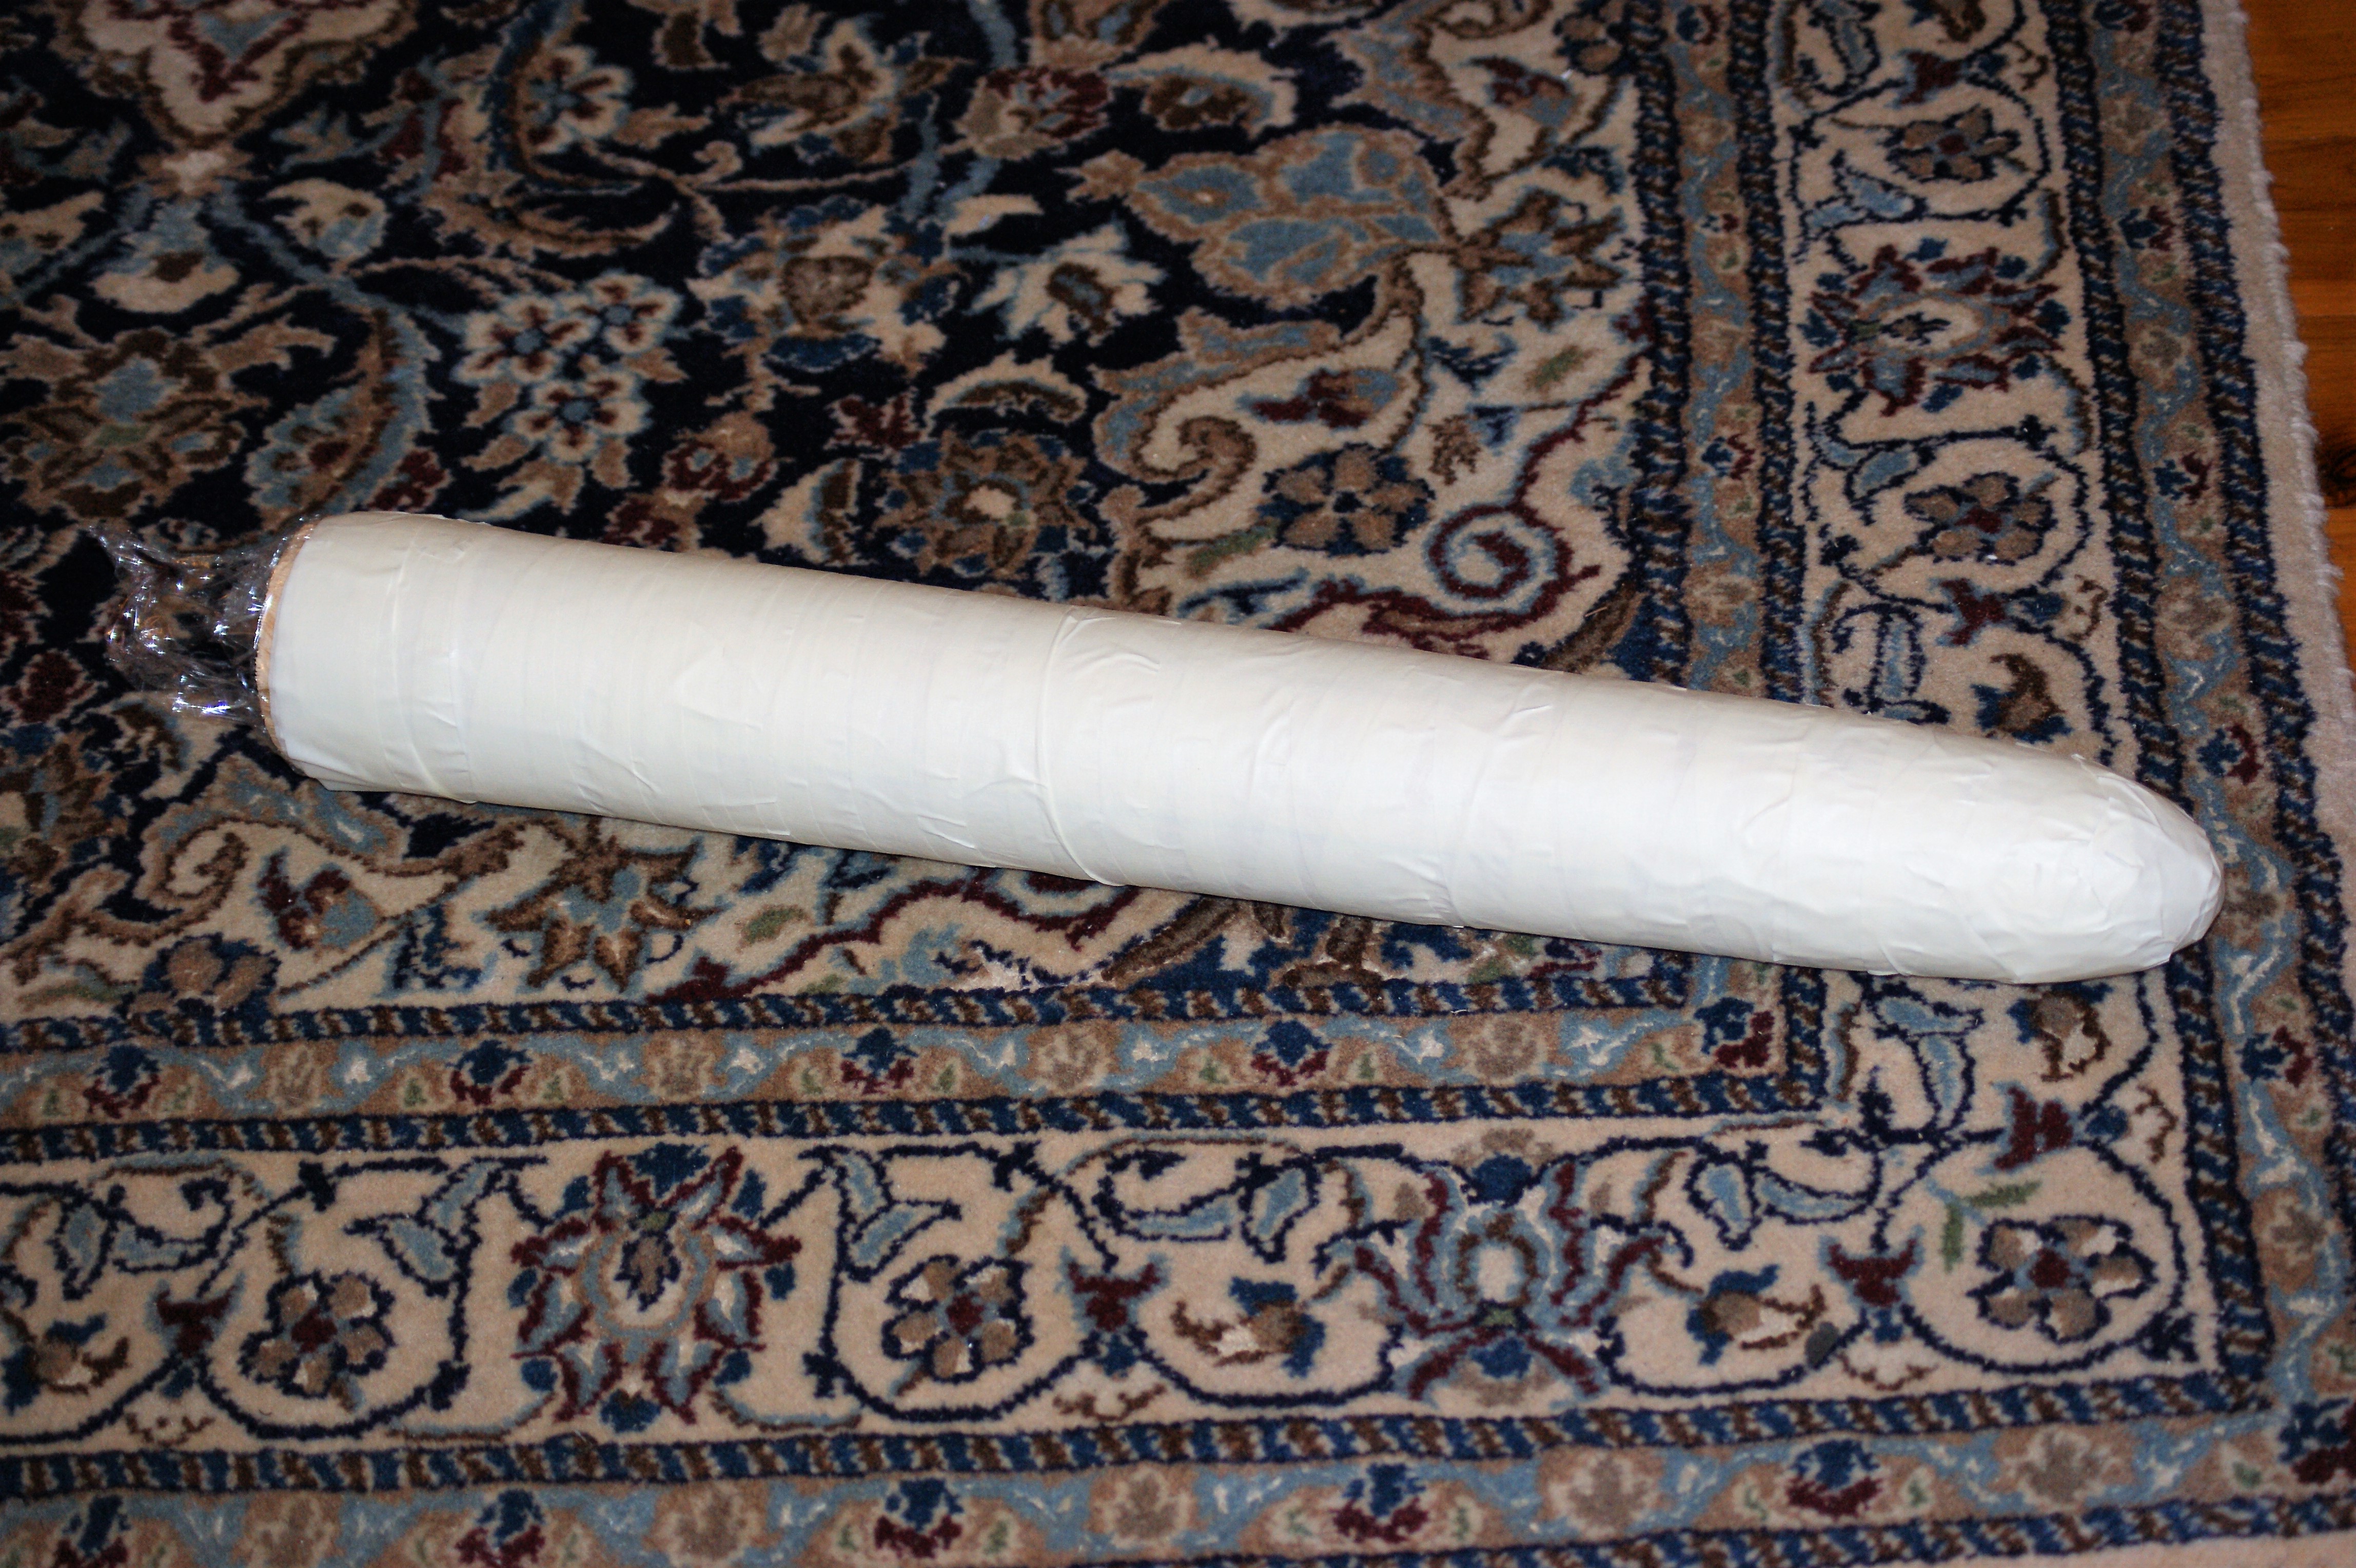
There was a week’s delay waiting for the workshop to be below 40°C during the times of day that I could make noise. We finally had a couple of cool days and I turned up a last the same shape and size as the interior of the quiver. The taper isn’t quite as steep as the proposed one in figure 22 because I’m not convinced that it would fit very many arrows if made as as shown. The wooden last was covered with a layer of kitchen film and a couple of layers of masking tape.
The next step was to mark out the individual pieces. The back piece is a bit more than 1⁄2 the width of the whole, and if the teardrop went where I thought, the front piece was about 9cm wide when measured about 4.5cm up from the point.

An arbitrary line was drawn from the point to the end. I’m using the grout lines in the floor to stop the last rolling, and the flat bit of pine as a sledge for the pen. Measure up 4.5cm from the pointy end, measure 9cm across and mark for the second line. I then rolled the last on the floor until pen point on top of the bit of 19mm pine hit the right spot.
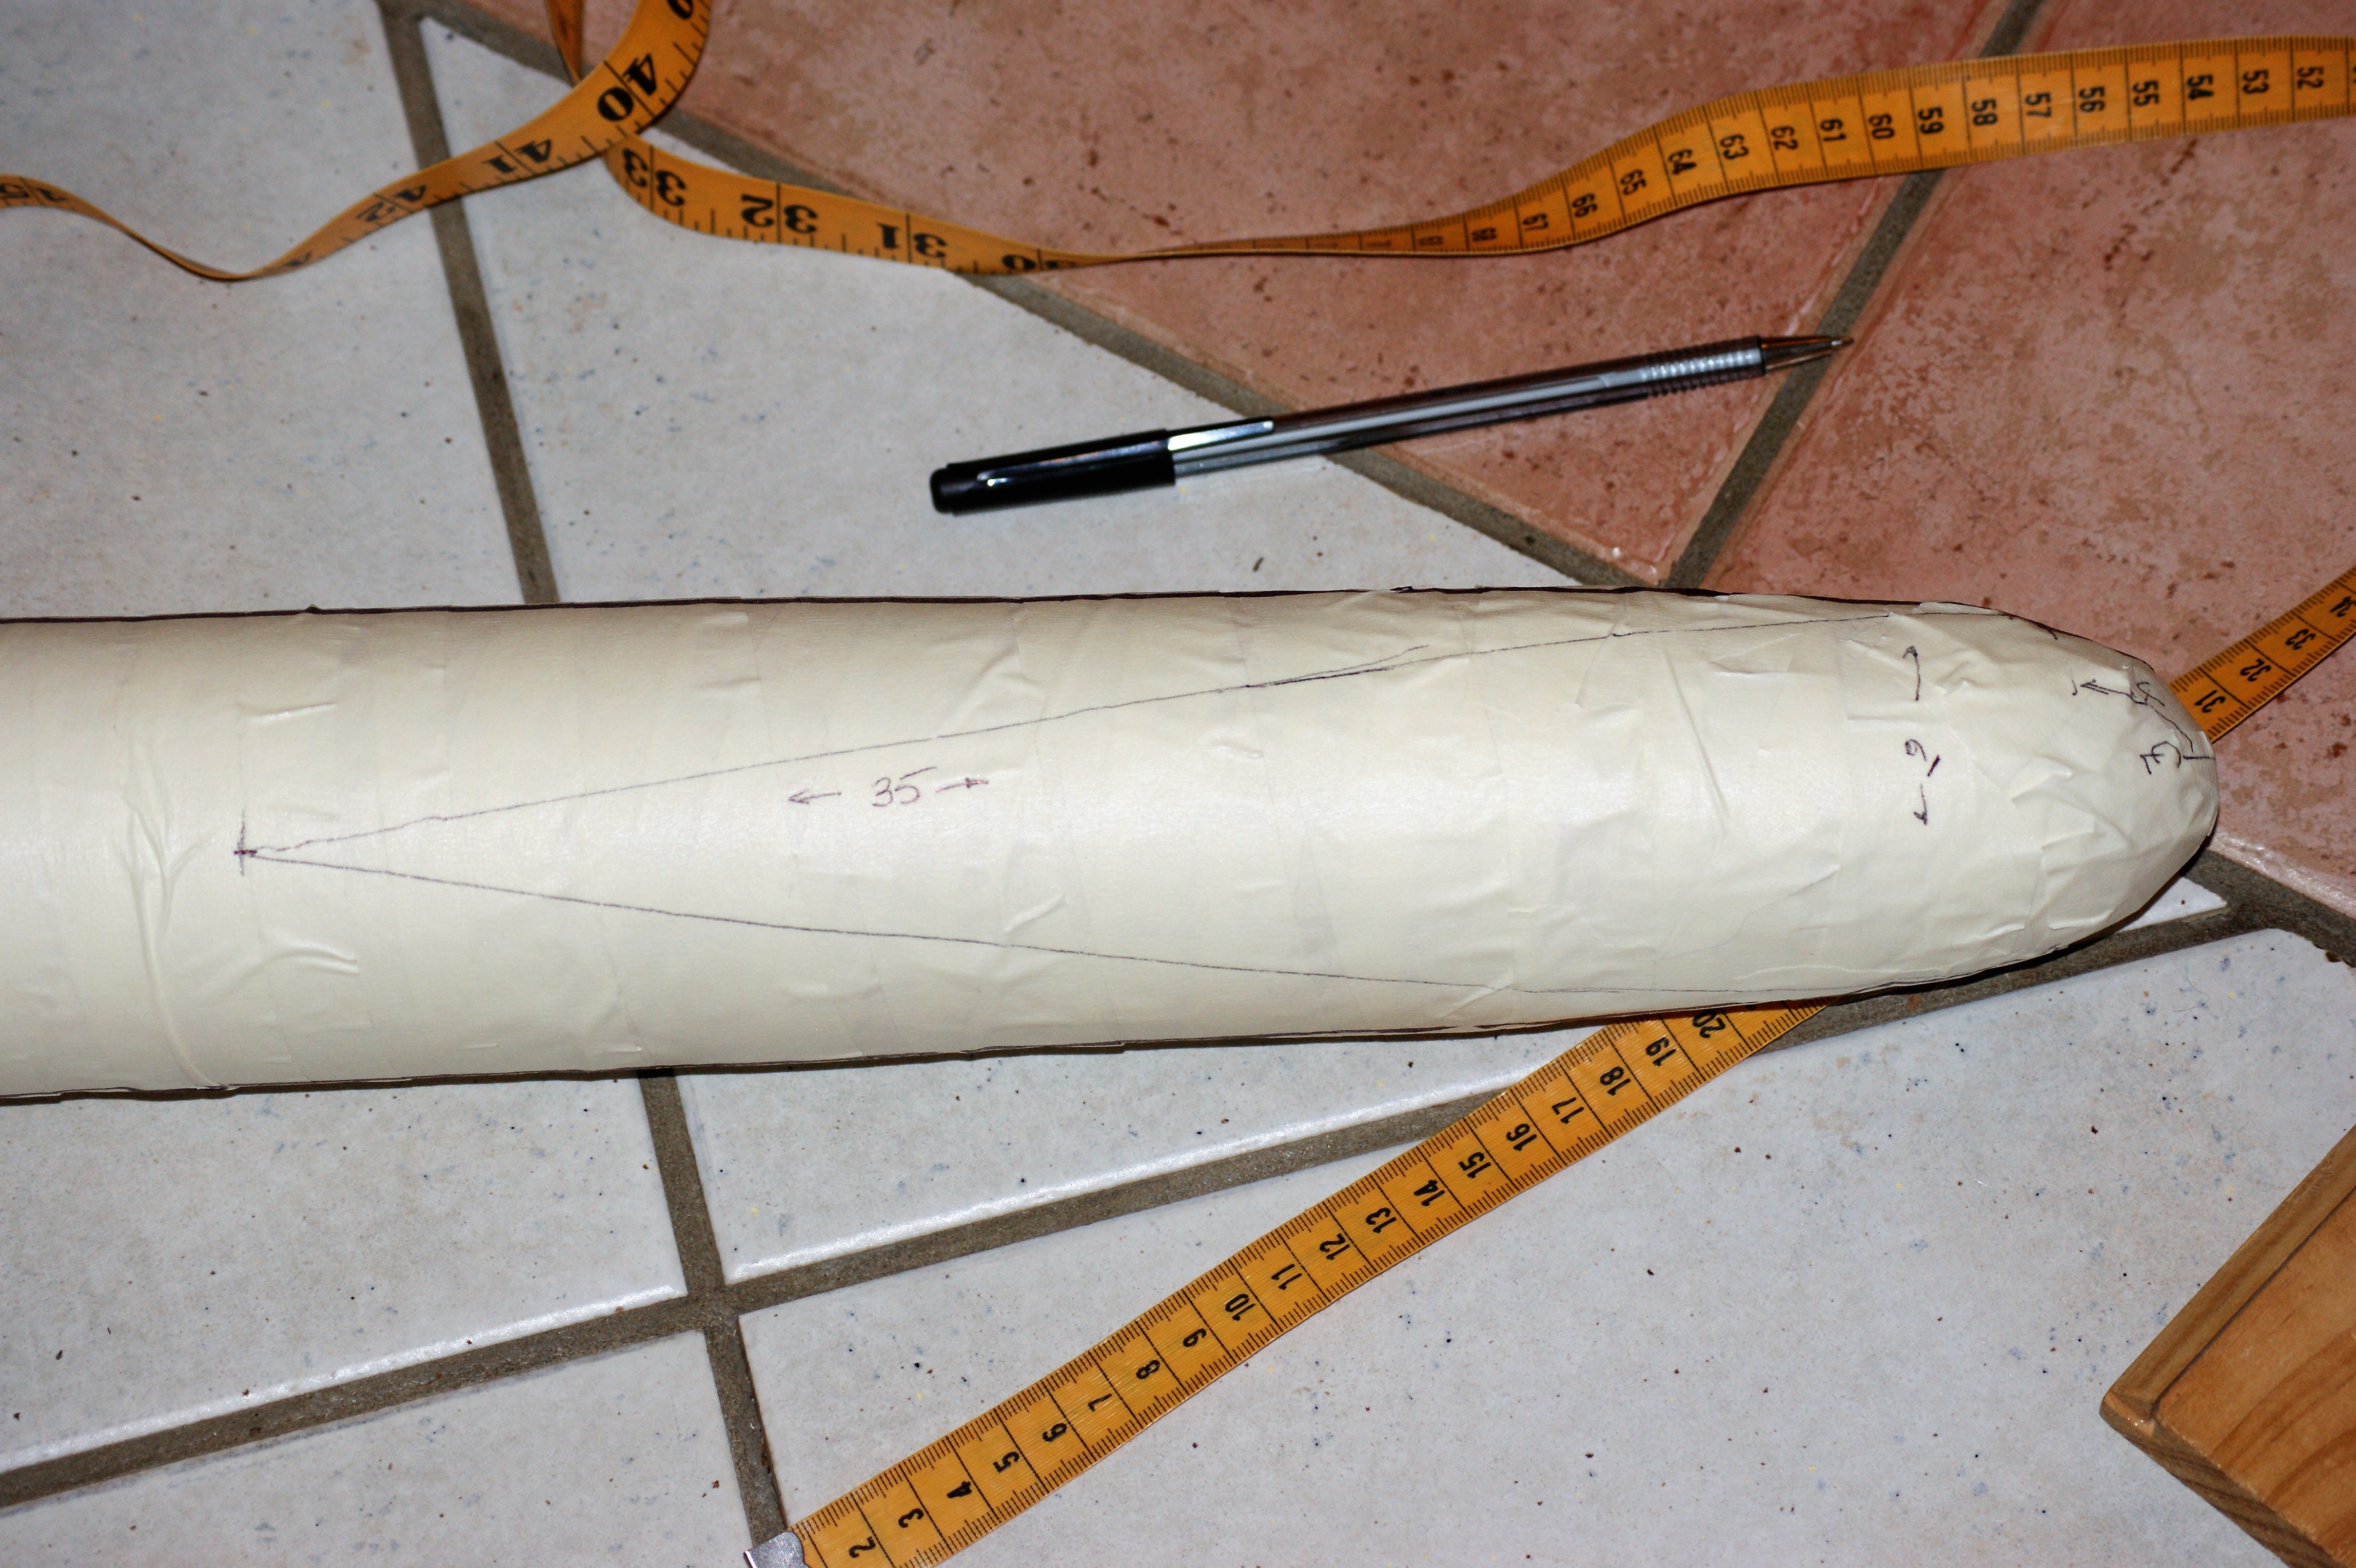
Measure 35cm up from the point and draw two lines to the sides, ending about 4cm from the point. If you do it correctly, the straight lines will form tangents to the arc and you’ll end up with a fairly perfect teardrop shape.

L to R: back, lower front, front, last. Not shown, top band, piping, suspension lugs. I’ll cover the top band in its own part, and just wing the piping and lugs as I go.
There’s some bulging in the back and lower front, but there’ll be enough stretch in the leather to accommodate them. The thing I like about this design is that the arrow heads only contact the lower front part. This is held in with edge-flesh stitches, making it an easy piece to replace without having to dismantle the rest of the quiver.
In the next part: cutting, sewing, fitting and dyeing.

