Hedeby Quiver – Mark 2

If you go back to my earlier posts on making a Hedeby quiver, I commented that I had been able to match all the stitch holes and thread imprints on all parts other than the carrying tabs.

Hedeby quiver carrying whassits
Hedeby quiver carrying tabs, redux

I’m now working on a group of new ones and this is the solution I’ve come up with. I’m using some of the narrow strips to wrap the edges of the tabs. This results in the outcome that I was chasing – stitch holes but no thread marks on the main parts of the tabs.

Interestingly, this is the same edge treatment as on the 6th-10th century flacket from Cloonclose, Co. Leitrim. The link is to a photo album on Facebook by Matt Bunker and is used with his kind permission.

In case anyone’s wondering what I’ve been up to…

… there’s an account over on the National Leather Collection blog.

Hedeby Quiver – the finish


This part is really just a quick finish and review of the success or otherwise of the project.

First the hanging straps – we know they are folded leather, sewn with a saddle stitch along one edge. One end loops through the tab on the side and is stitched to itself. Interestingly, I quickly found that the top extension of the tab keeps the hanging strap sitting at the correct angle.

At the top end, we don’t know. We’re missing that bit. It could have been some sort of hook or escutcheon like these from Birka or just about anything. I’ve gone with the safe option and just repeated the loop from the other end of the strap. I don’t know what the width of the belt is that my client will be using, just that he wants the top of the quiver to sit at waist height.

Here’s how it looks:

I’ve borrowed my son’s 28″ arrows for the test, my 32″ monsters are a bit long for this period and type of quiver. There is a little wadded woolen fabric in the bottom to stop the heads marking the leather. I think it helps keep all the arrows at the same height, which is what I prefer. Without it the arrows in the centre would sit lower than the ones around the edge.

Now take a quick look back at the Leatherwork from Hedeby post. Having made this one, I’m fairly confident the finds at Hedeby represent two different, but similar quivers. I’ve think I’ve managed to match the shapes and angles of all the pieces, and in all but the outer seams on the carrying tabs, I’ve been able to match the thread impressions, or lack thereof on all pieces. I think there’s a fair chance the carrying tabs had a thin leather wrap around the edges as the originals had stitch holes but no thread impressions.

Here endeth the build. If you are interested, follow my attempt at a quiver from Nydam Mose on my other blog.


Hedeby Quiver – part the third

When we left at the end of the previous episode, we’d just started assembling the front parts and the hanging tabs. The errata found that I’d misread the German, while it was early enough to do something about it.

I think we should all view this update as a learning experience, or several. Attaching the back was the same as attaching the lower front piece. The stitches go from the skin side on the back, out the edge, through both layers of the piping, through the edge of the front and out the skin side. Repeat as desired. I found as I went that the quiver tightened on the wooden core. Wrapping the core in unwaxed kitchen paper provided a low-friction layer and stopped the leather from getting stuck.

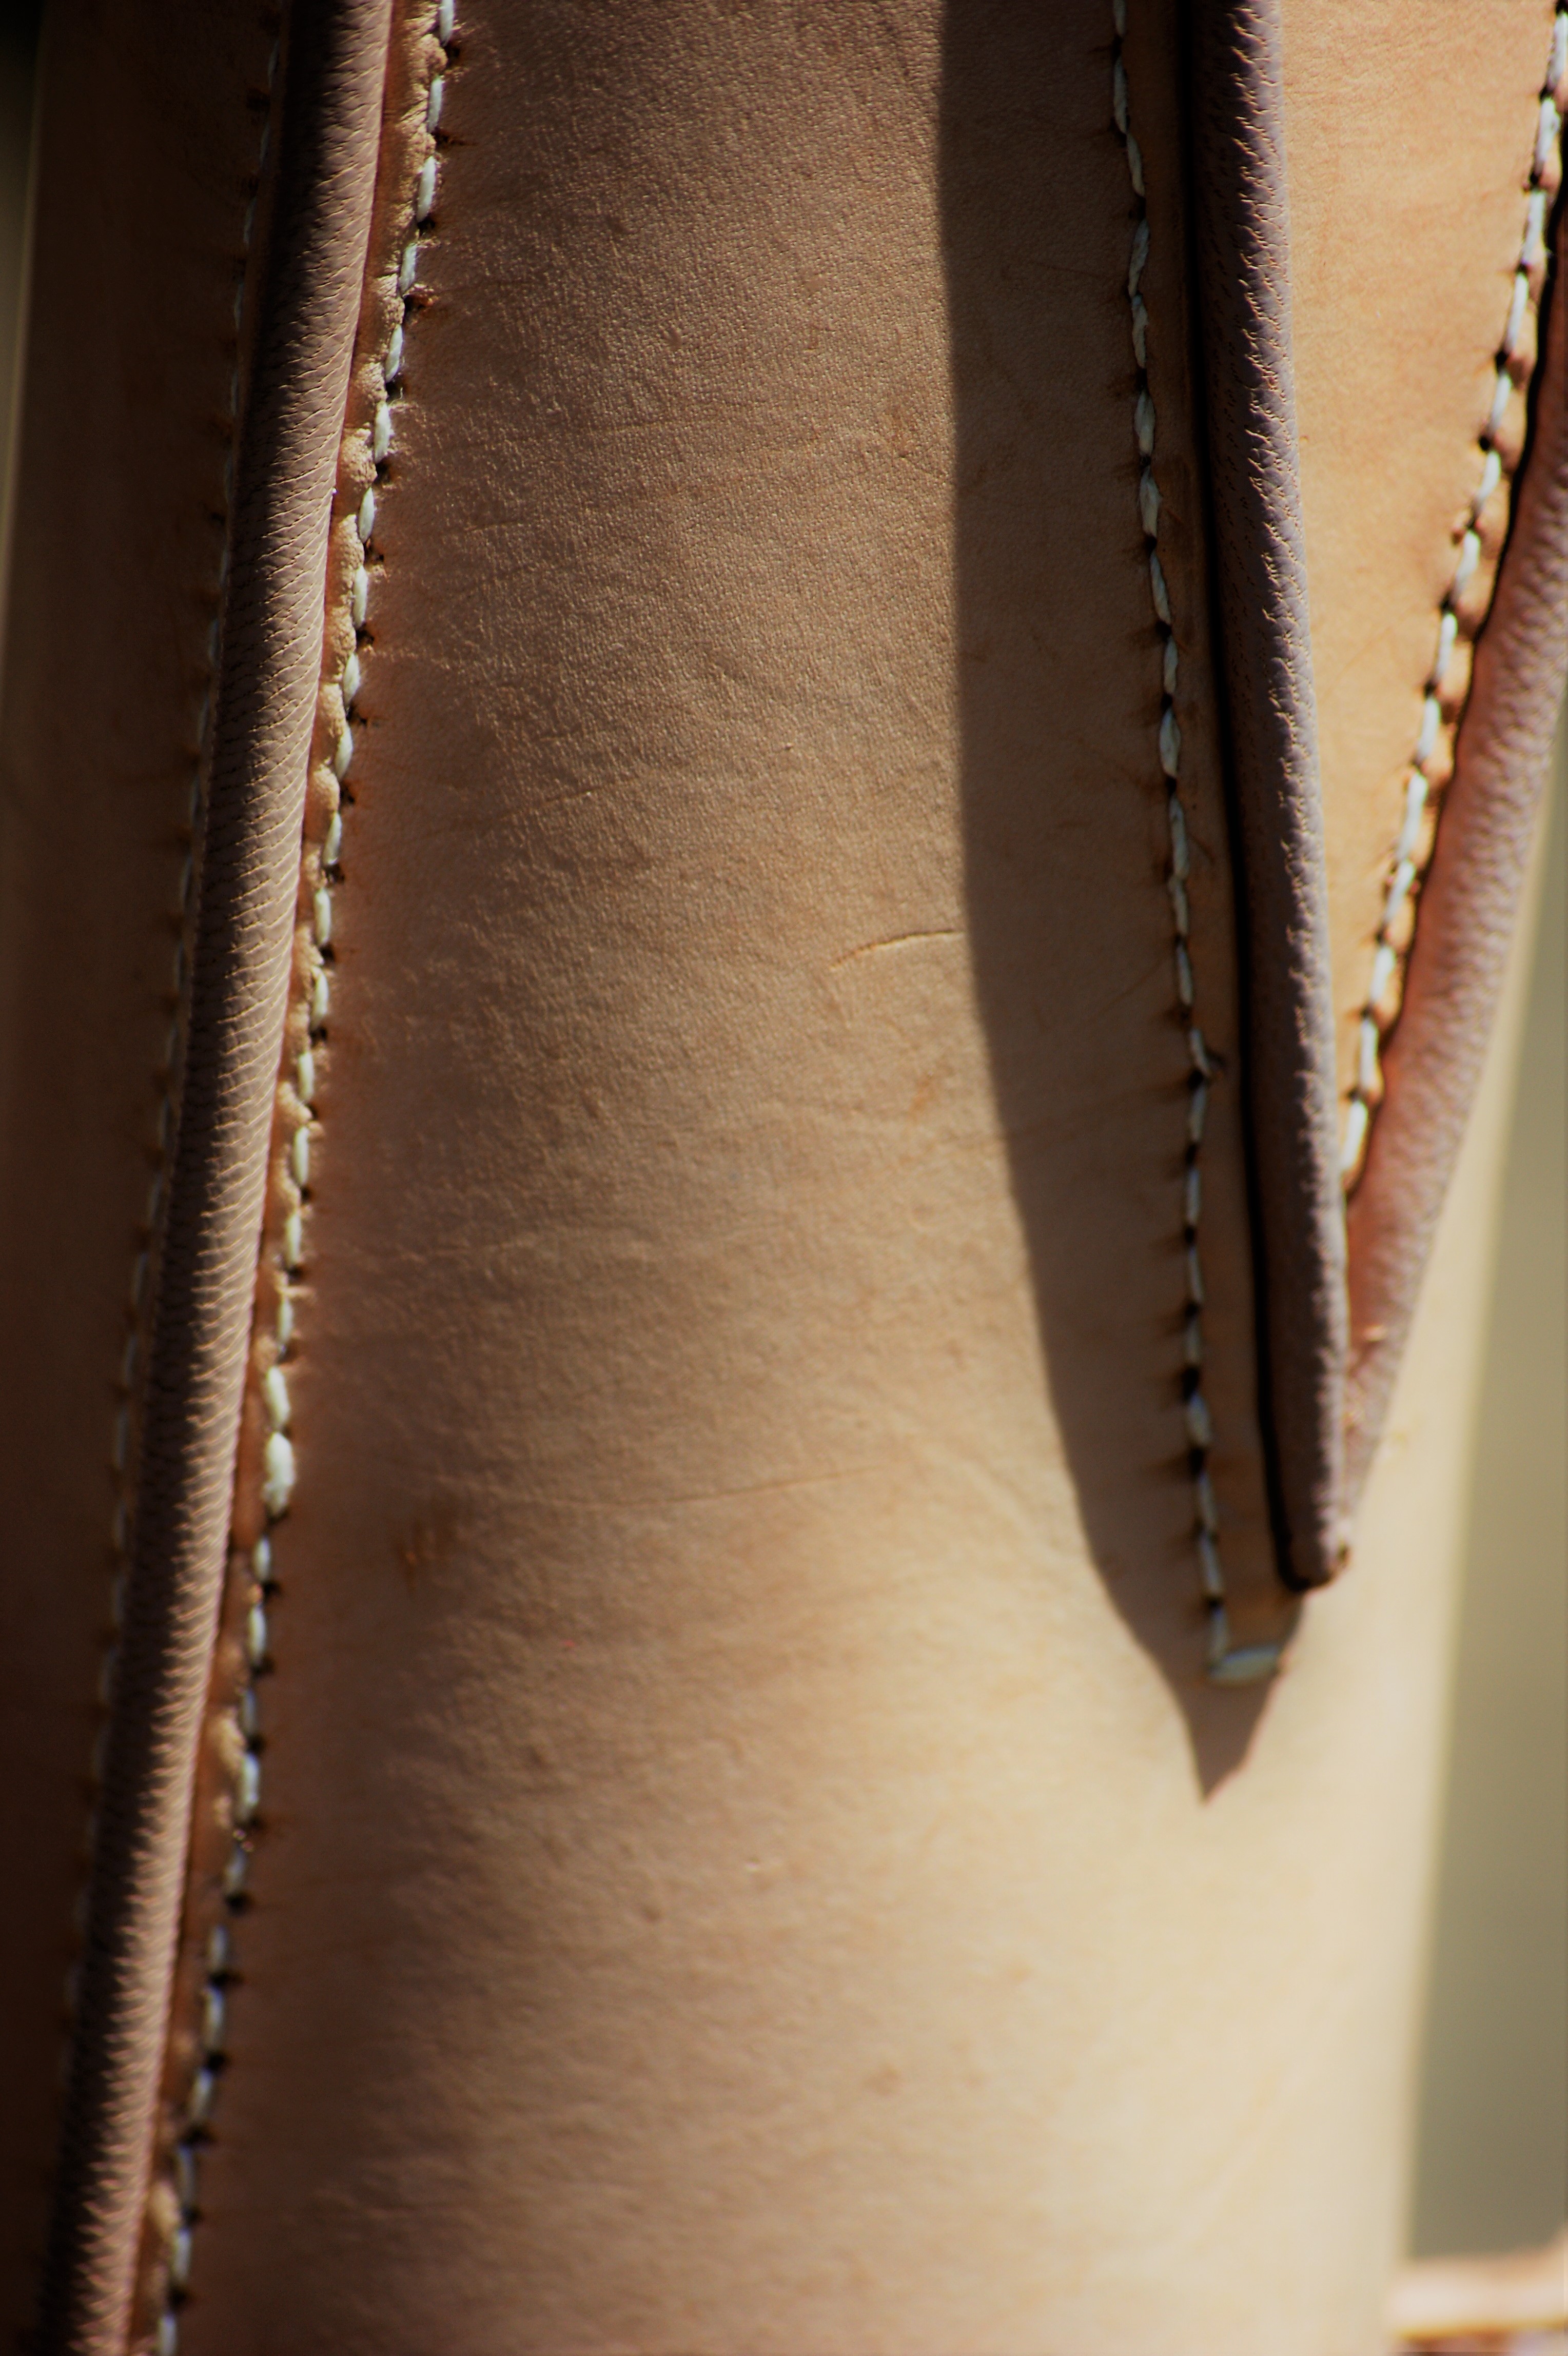
So on to our first disaster. It’s 35 degrees C inside, I’m sweating like the proverbial and I’m stitching with steel needles, pulling them through the leather layers with a pair of 19th century steel lasting pliers and my stupidly salty sweat starts pulling iron ions from the tools and transferring them to the leather, where they react to form perfect, black stained ferric tannate fingerprints.

The wisdom of the Internet suggested juice from a lemon as a good way of removing the stains, and the results were even better than advertised.

SONY DSC

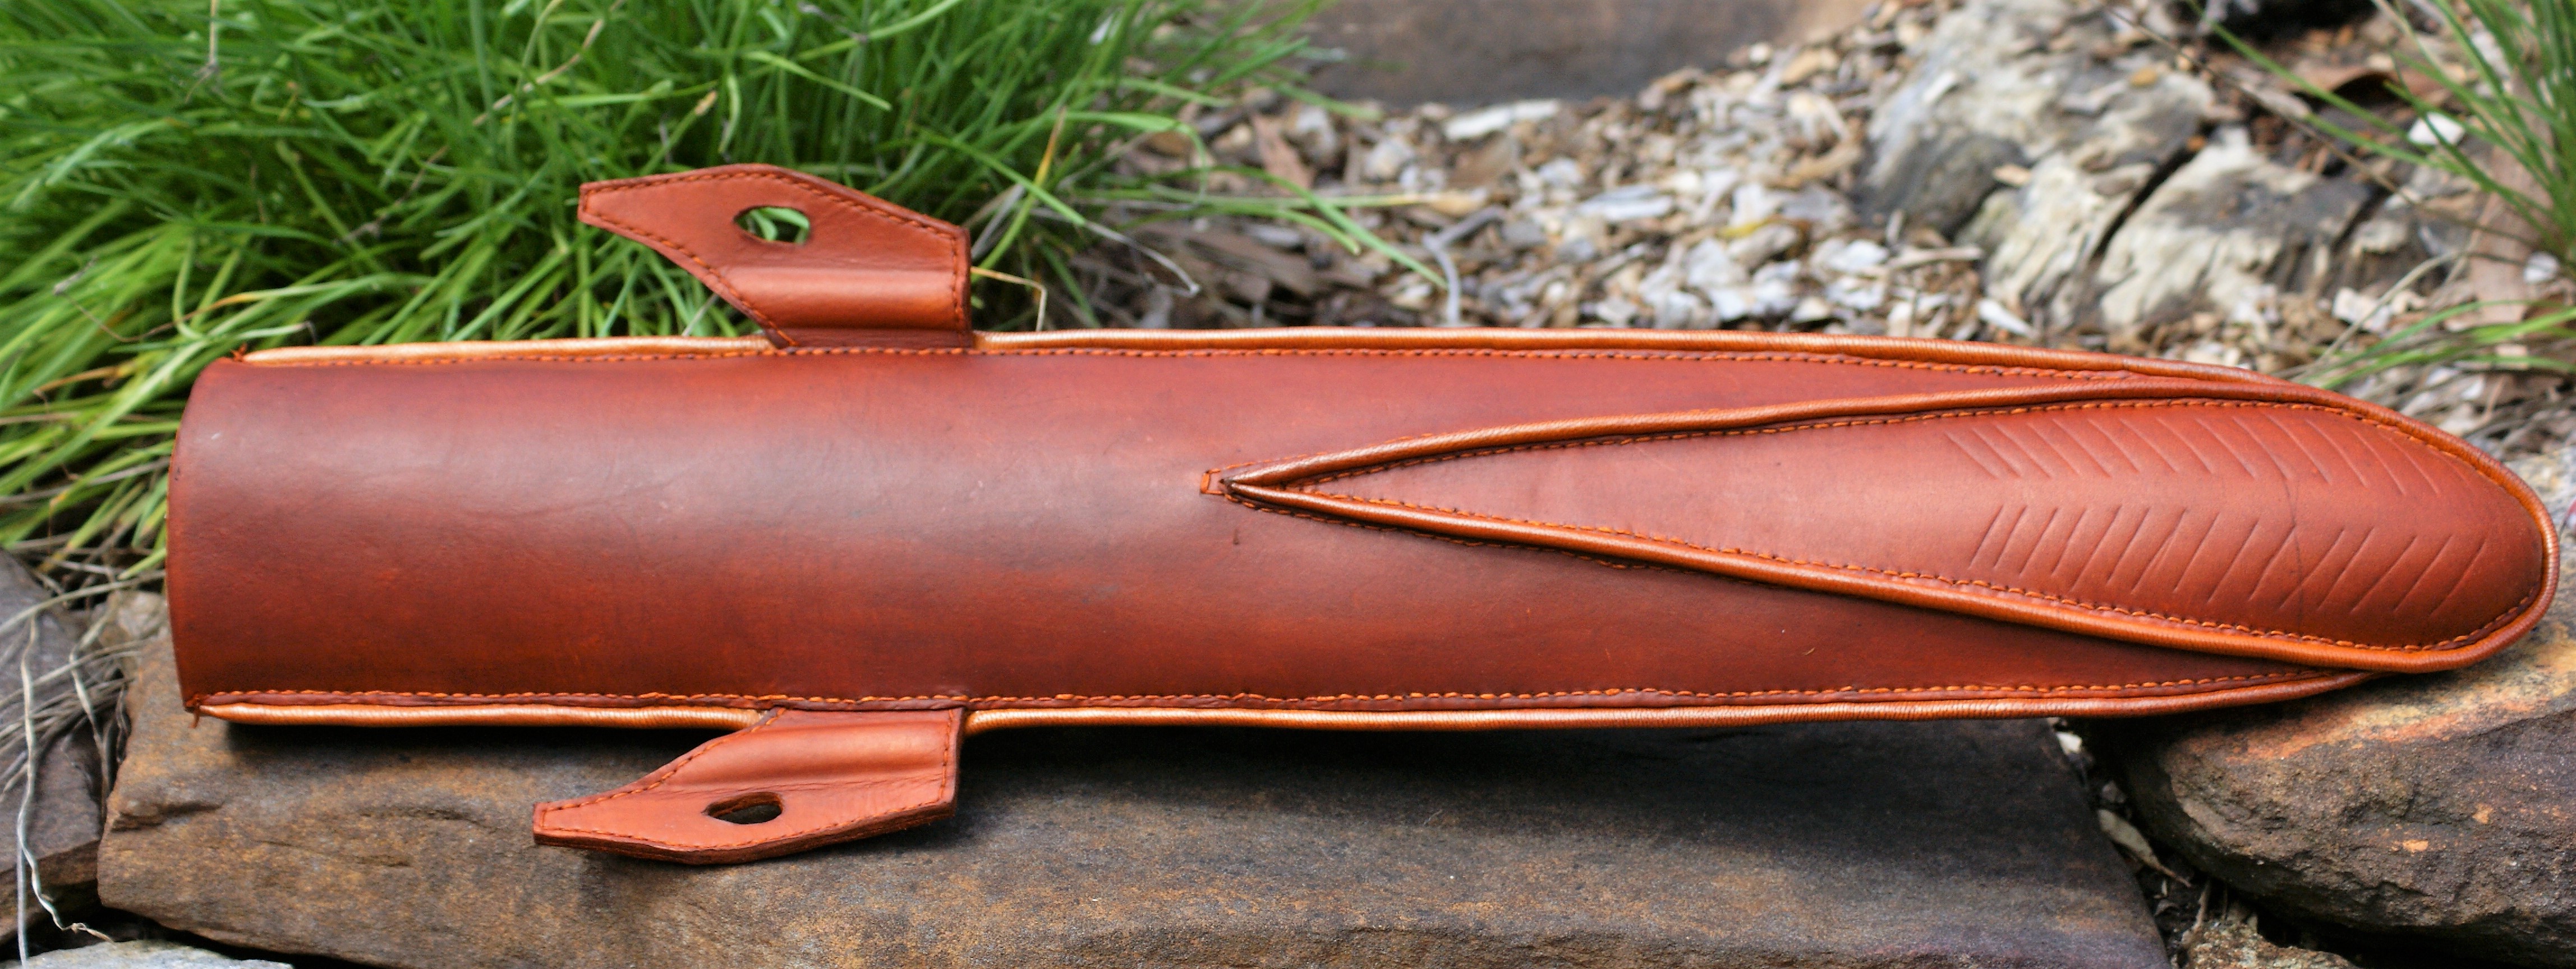
After. And there was much rejoicing.

For the last half inch (or metric half-inch, if you prefer), I decreased the height of the piping until it was flat with the seam at the top. This makes fitting the collar piece a little easier.

SONY DSC

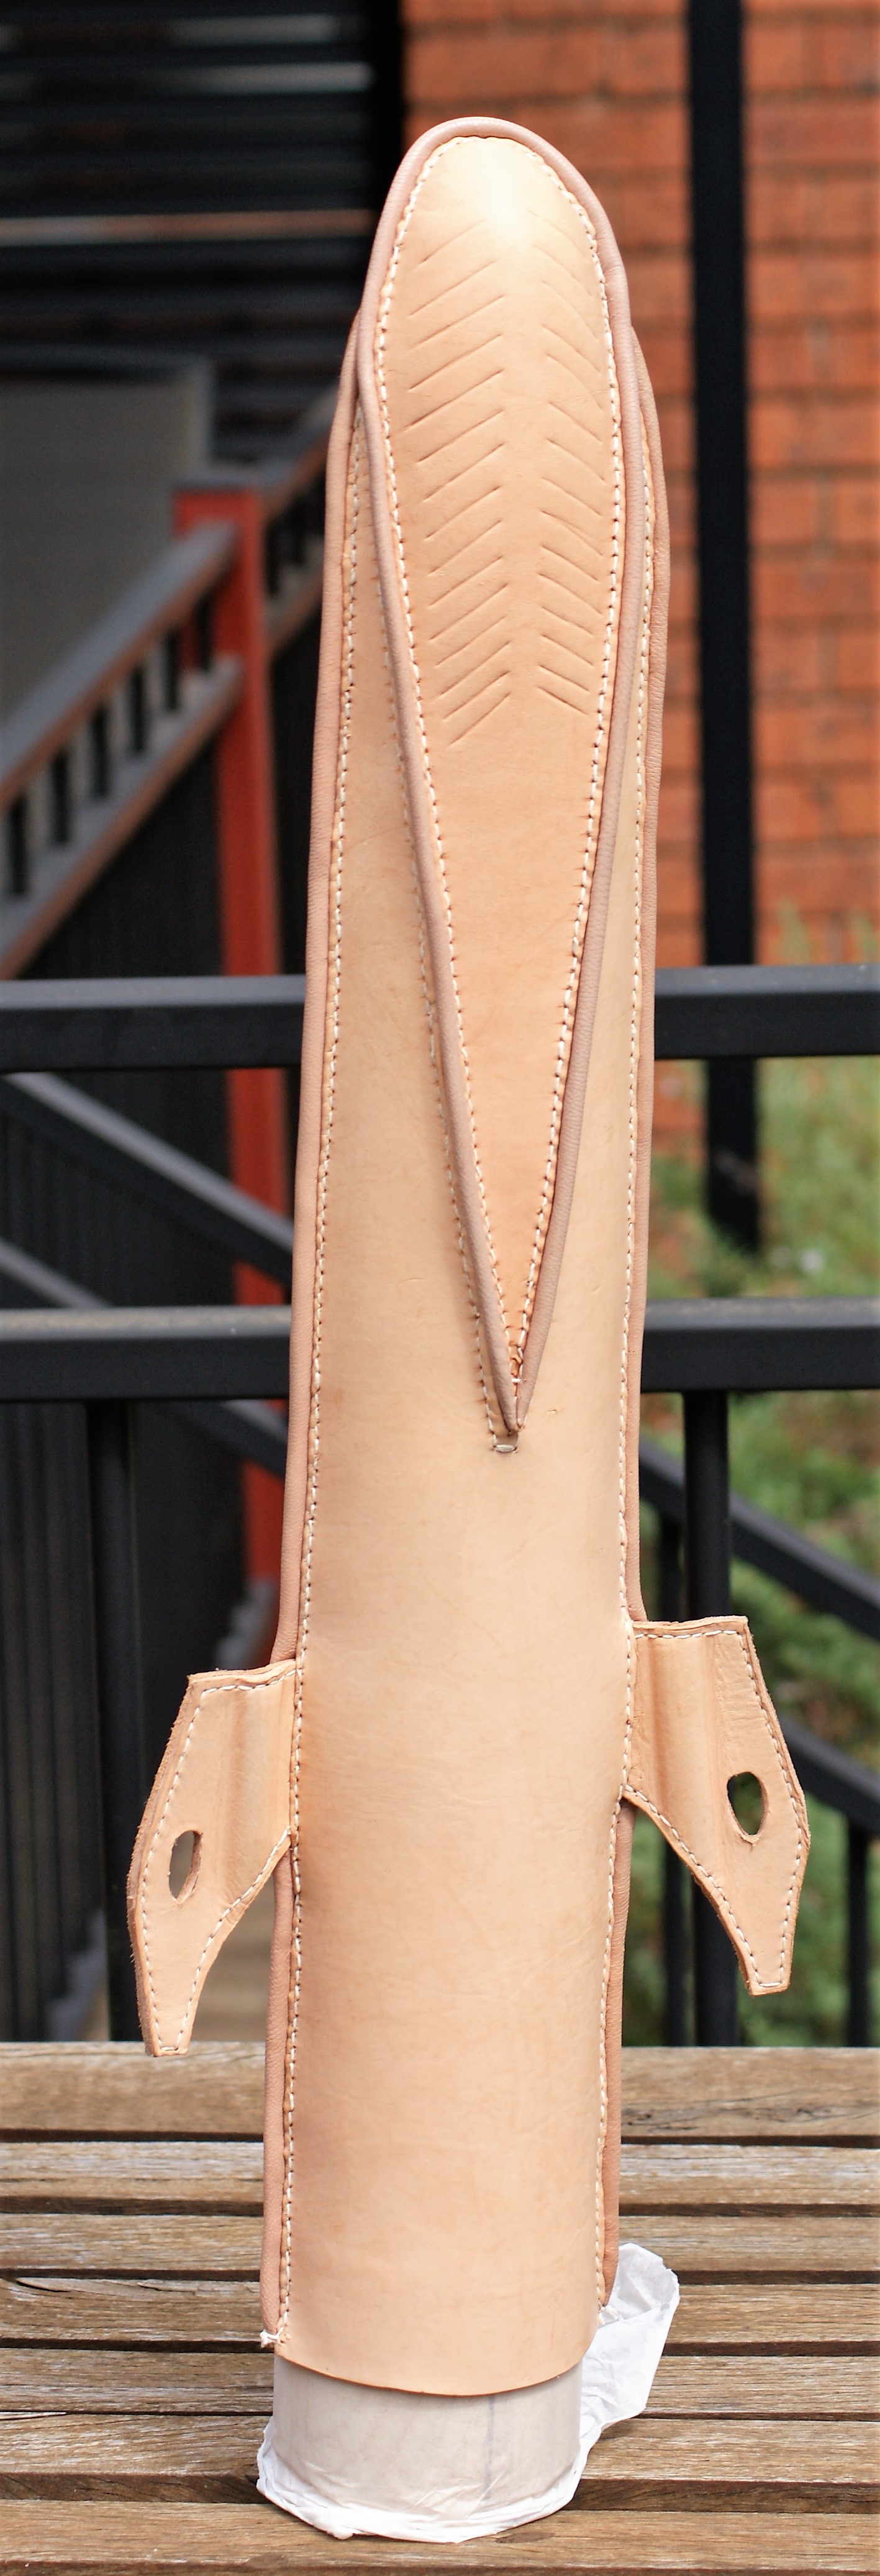
Finished main part of the quiver. The kitchen paper is visible, it made it much easier to get the wooden core out.

All the seams were dampened, and given a bit of a push or prod until I was satisfied with the way they sat.

I hit this with three good coats of dye and while that dried, made the mould for the collar.

SONY DSC

The mould was just a plank of radiata pine with the appropriate bits carved out and a ridge added to the the narrow bit near the top.

SONY DSC

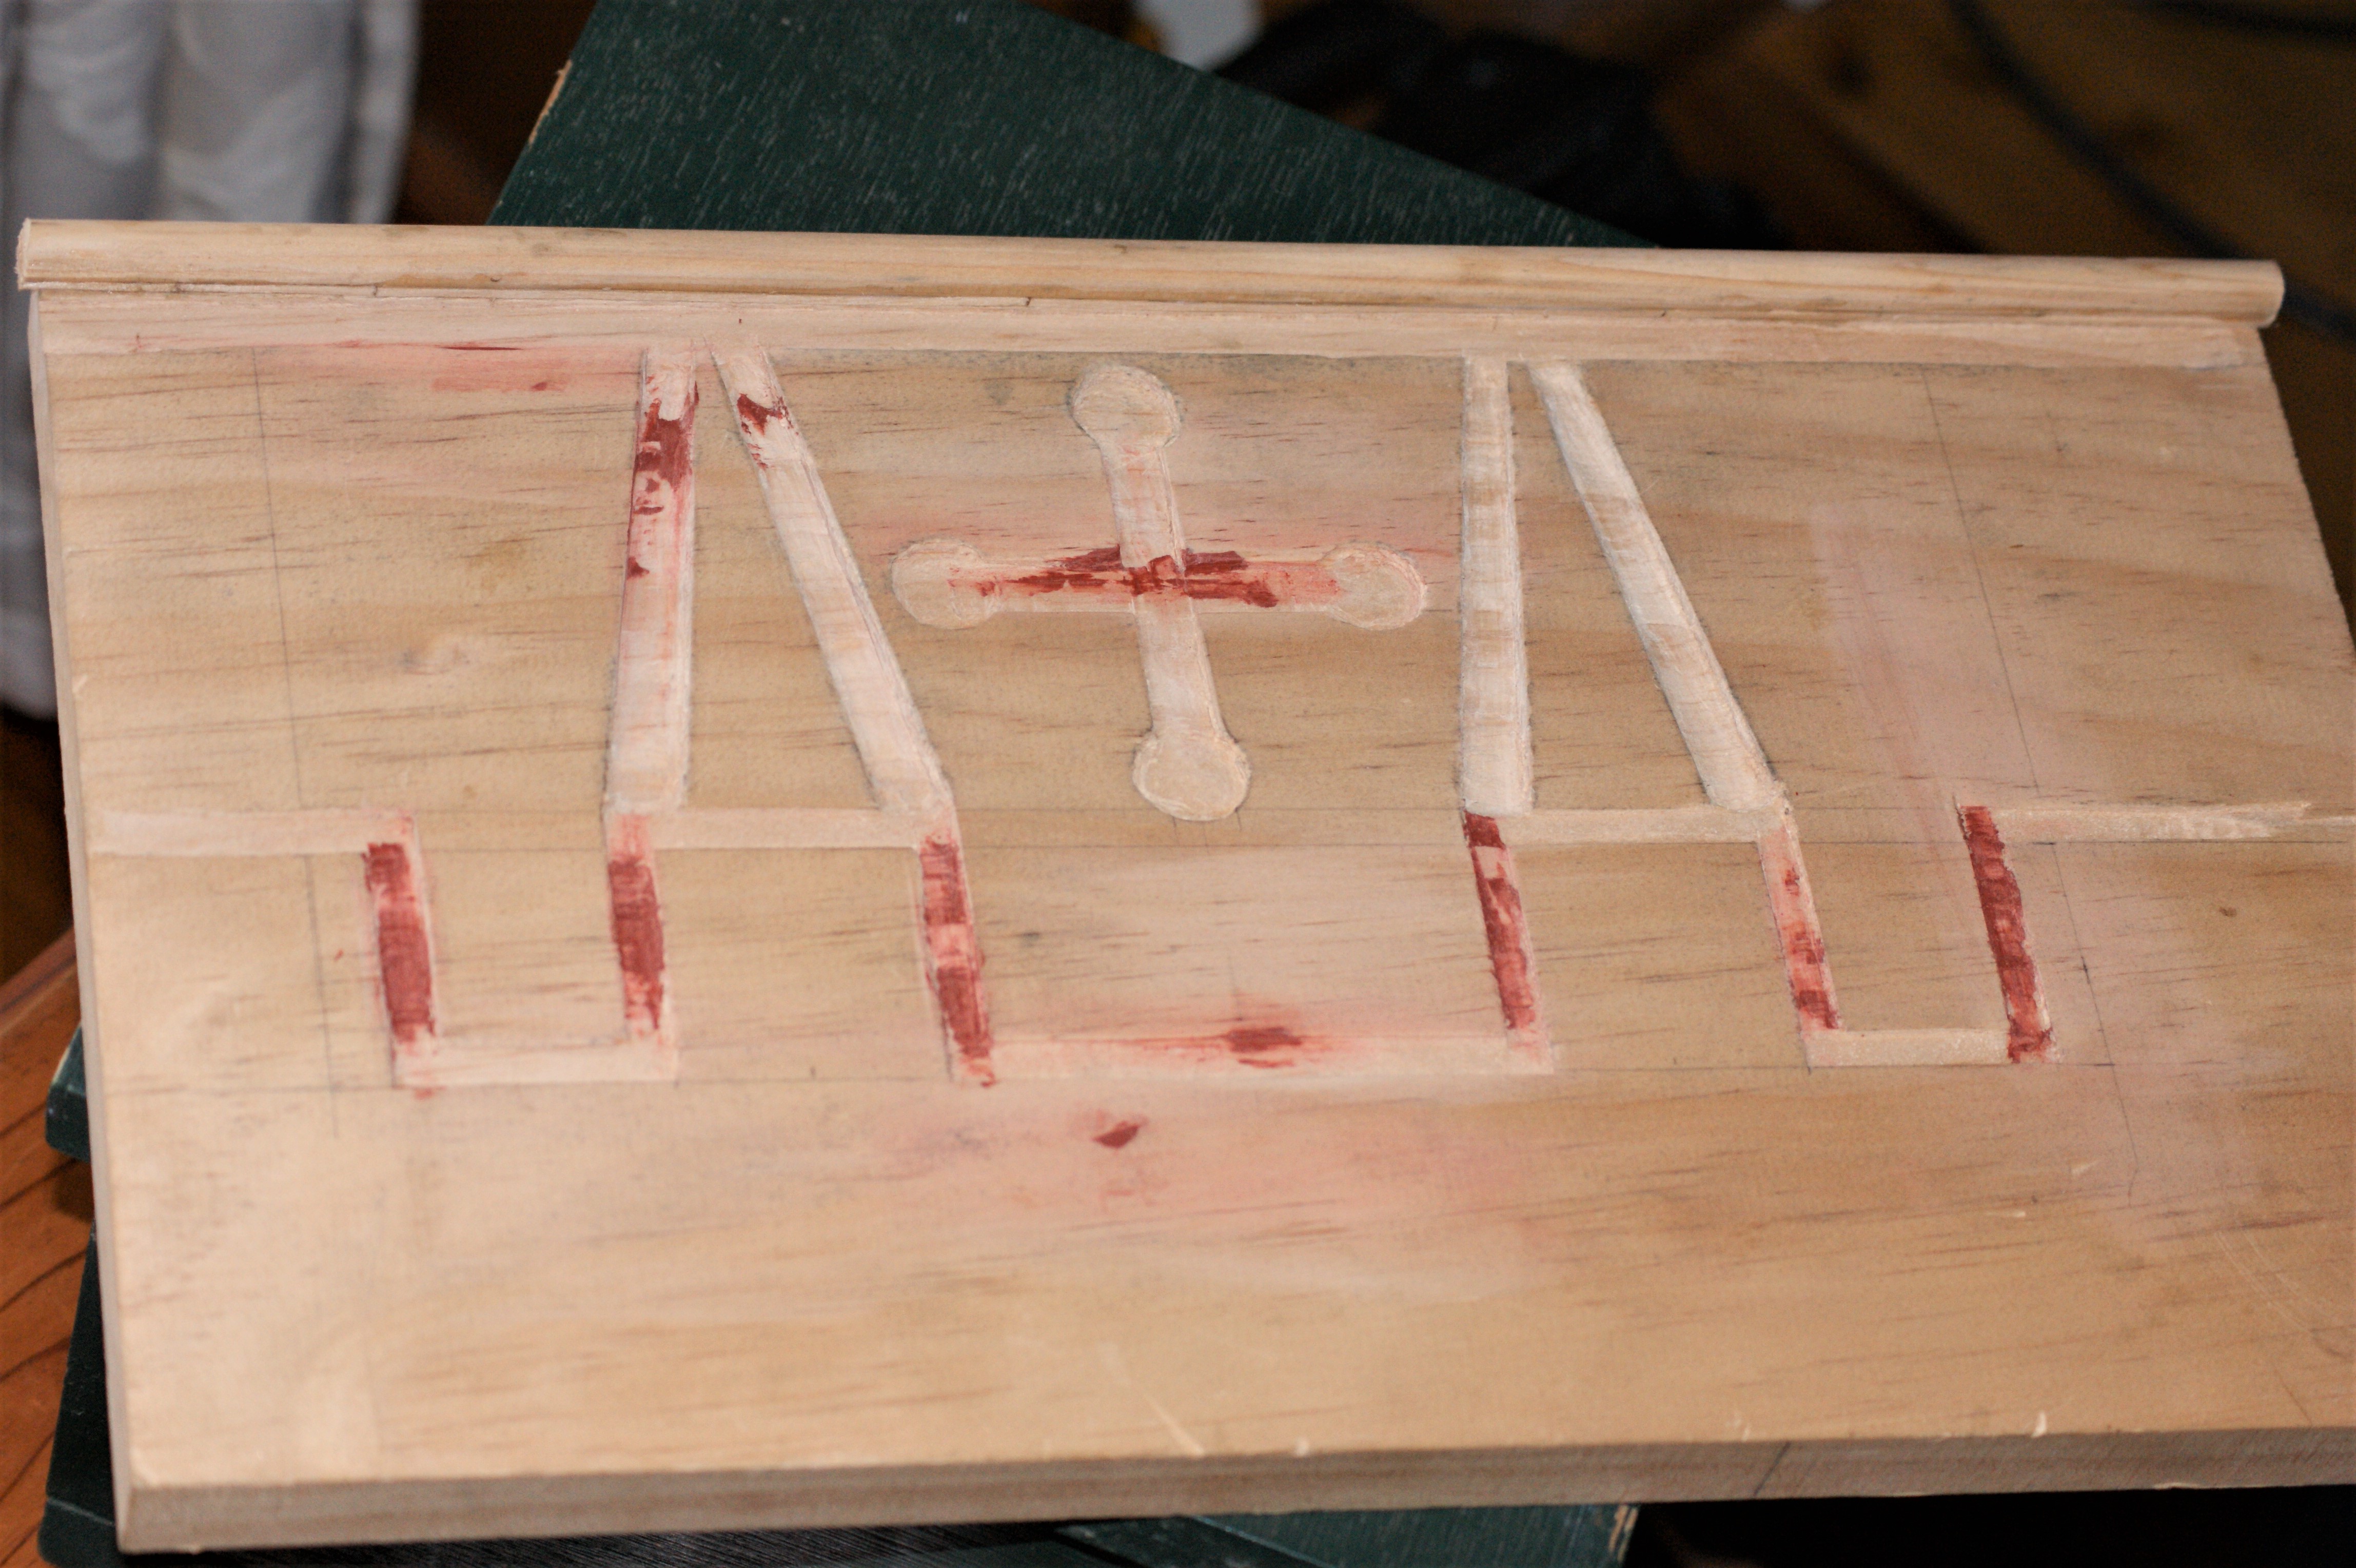
The red stuff is car putty, I had a few problems with tear-outs. Case the leather, lay it over the design, clamp in place and work through from the back with a bone or wooden folder.

SONY DSC

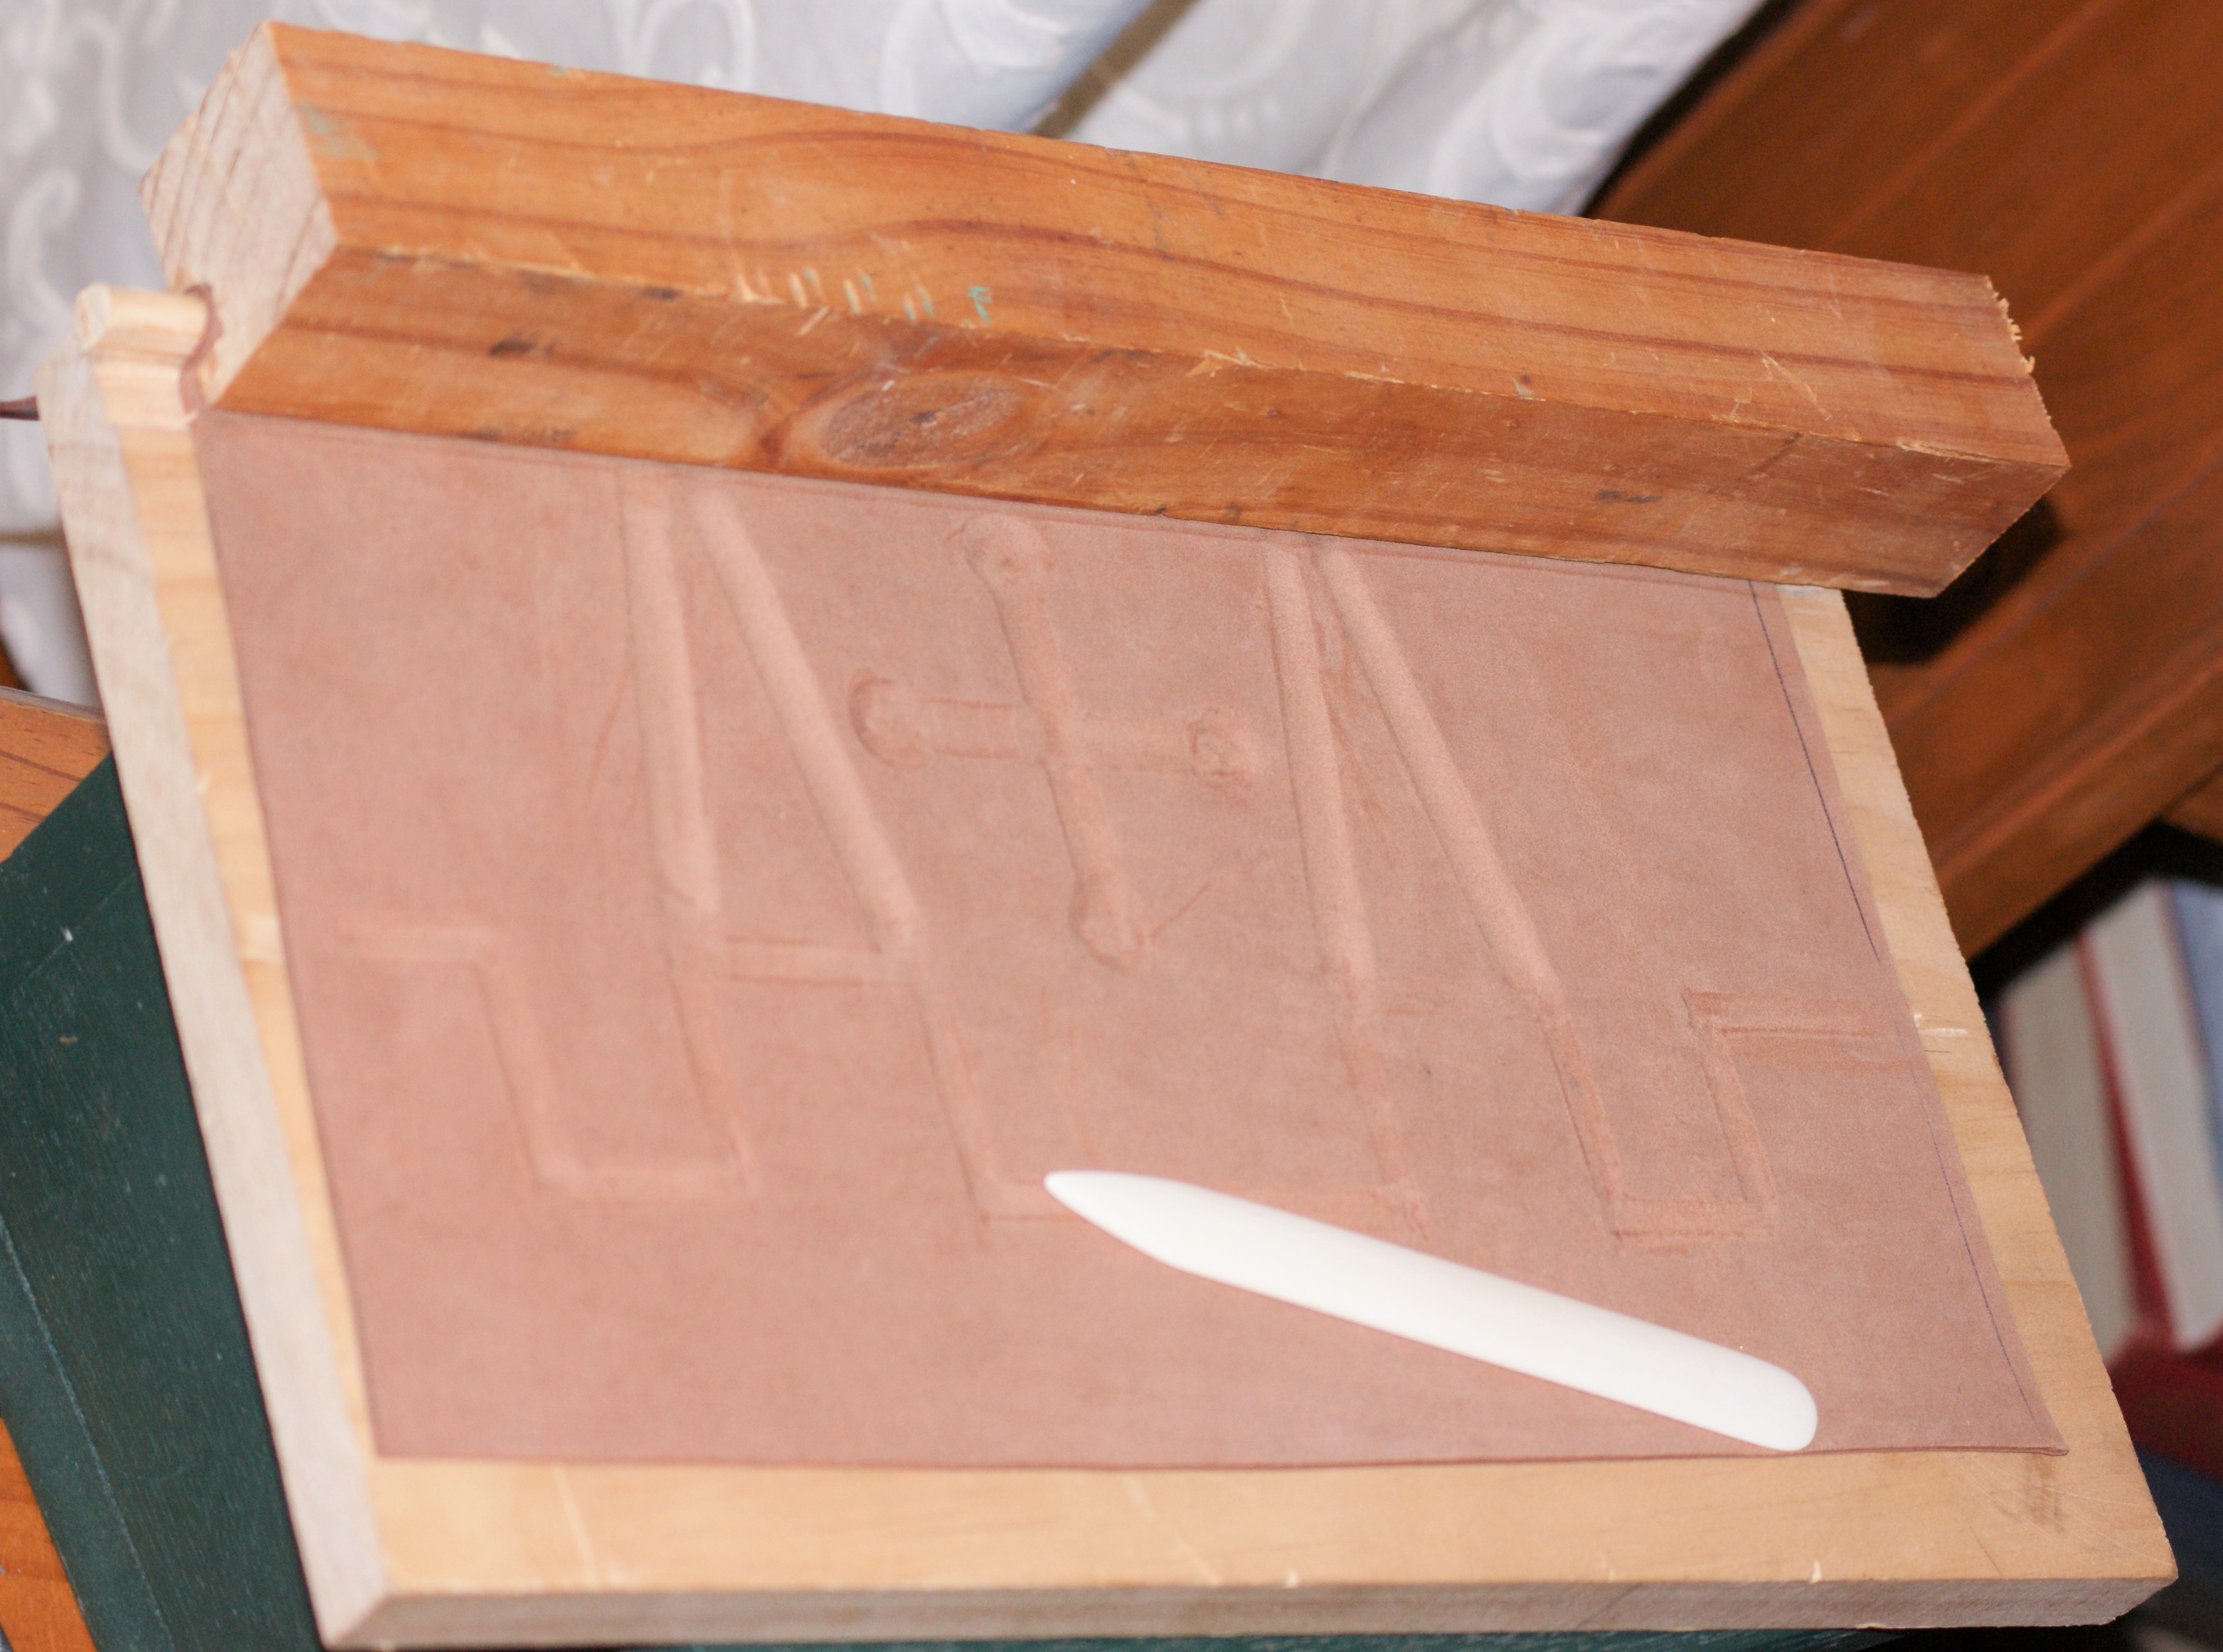
I’ve used this technique on costrels before. When the leather is dry, peel it off.

SONY DSC

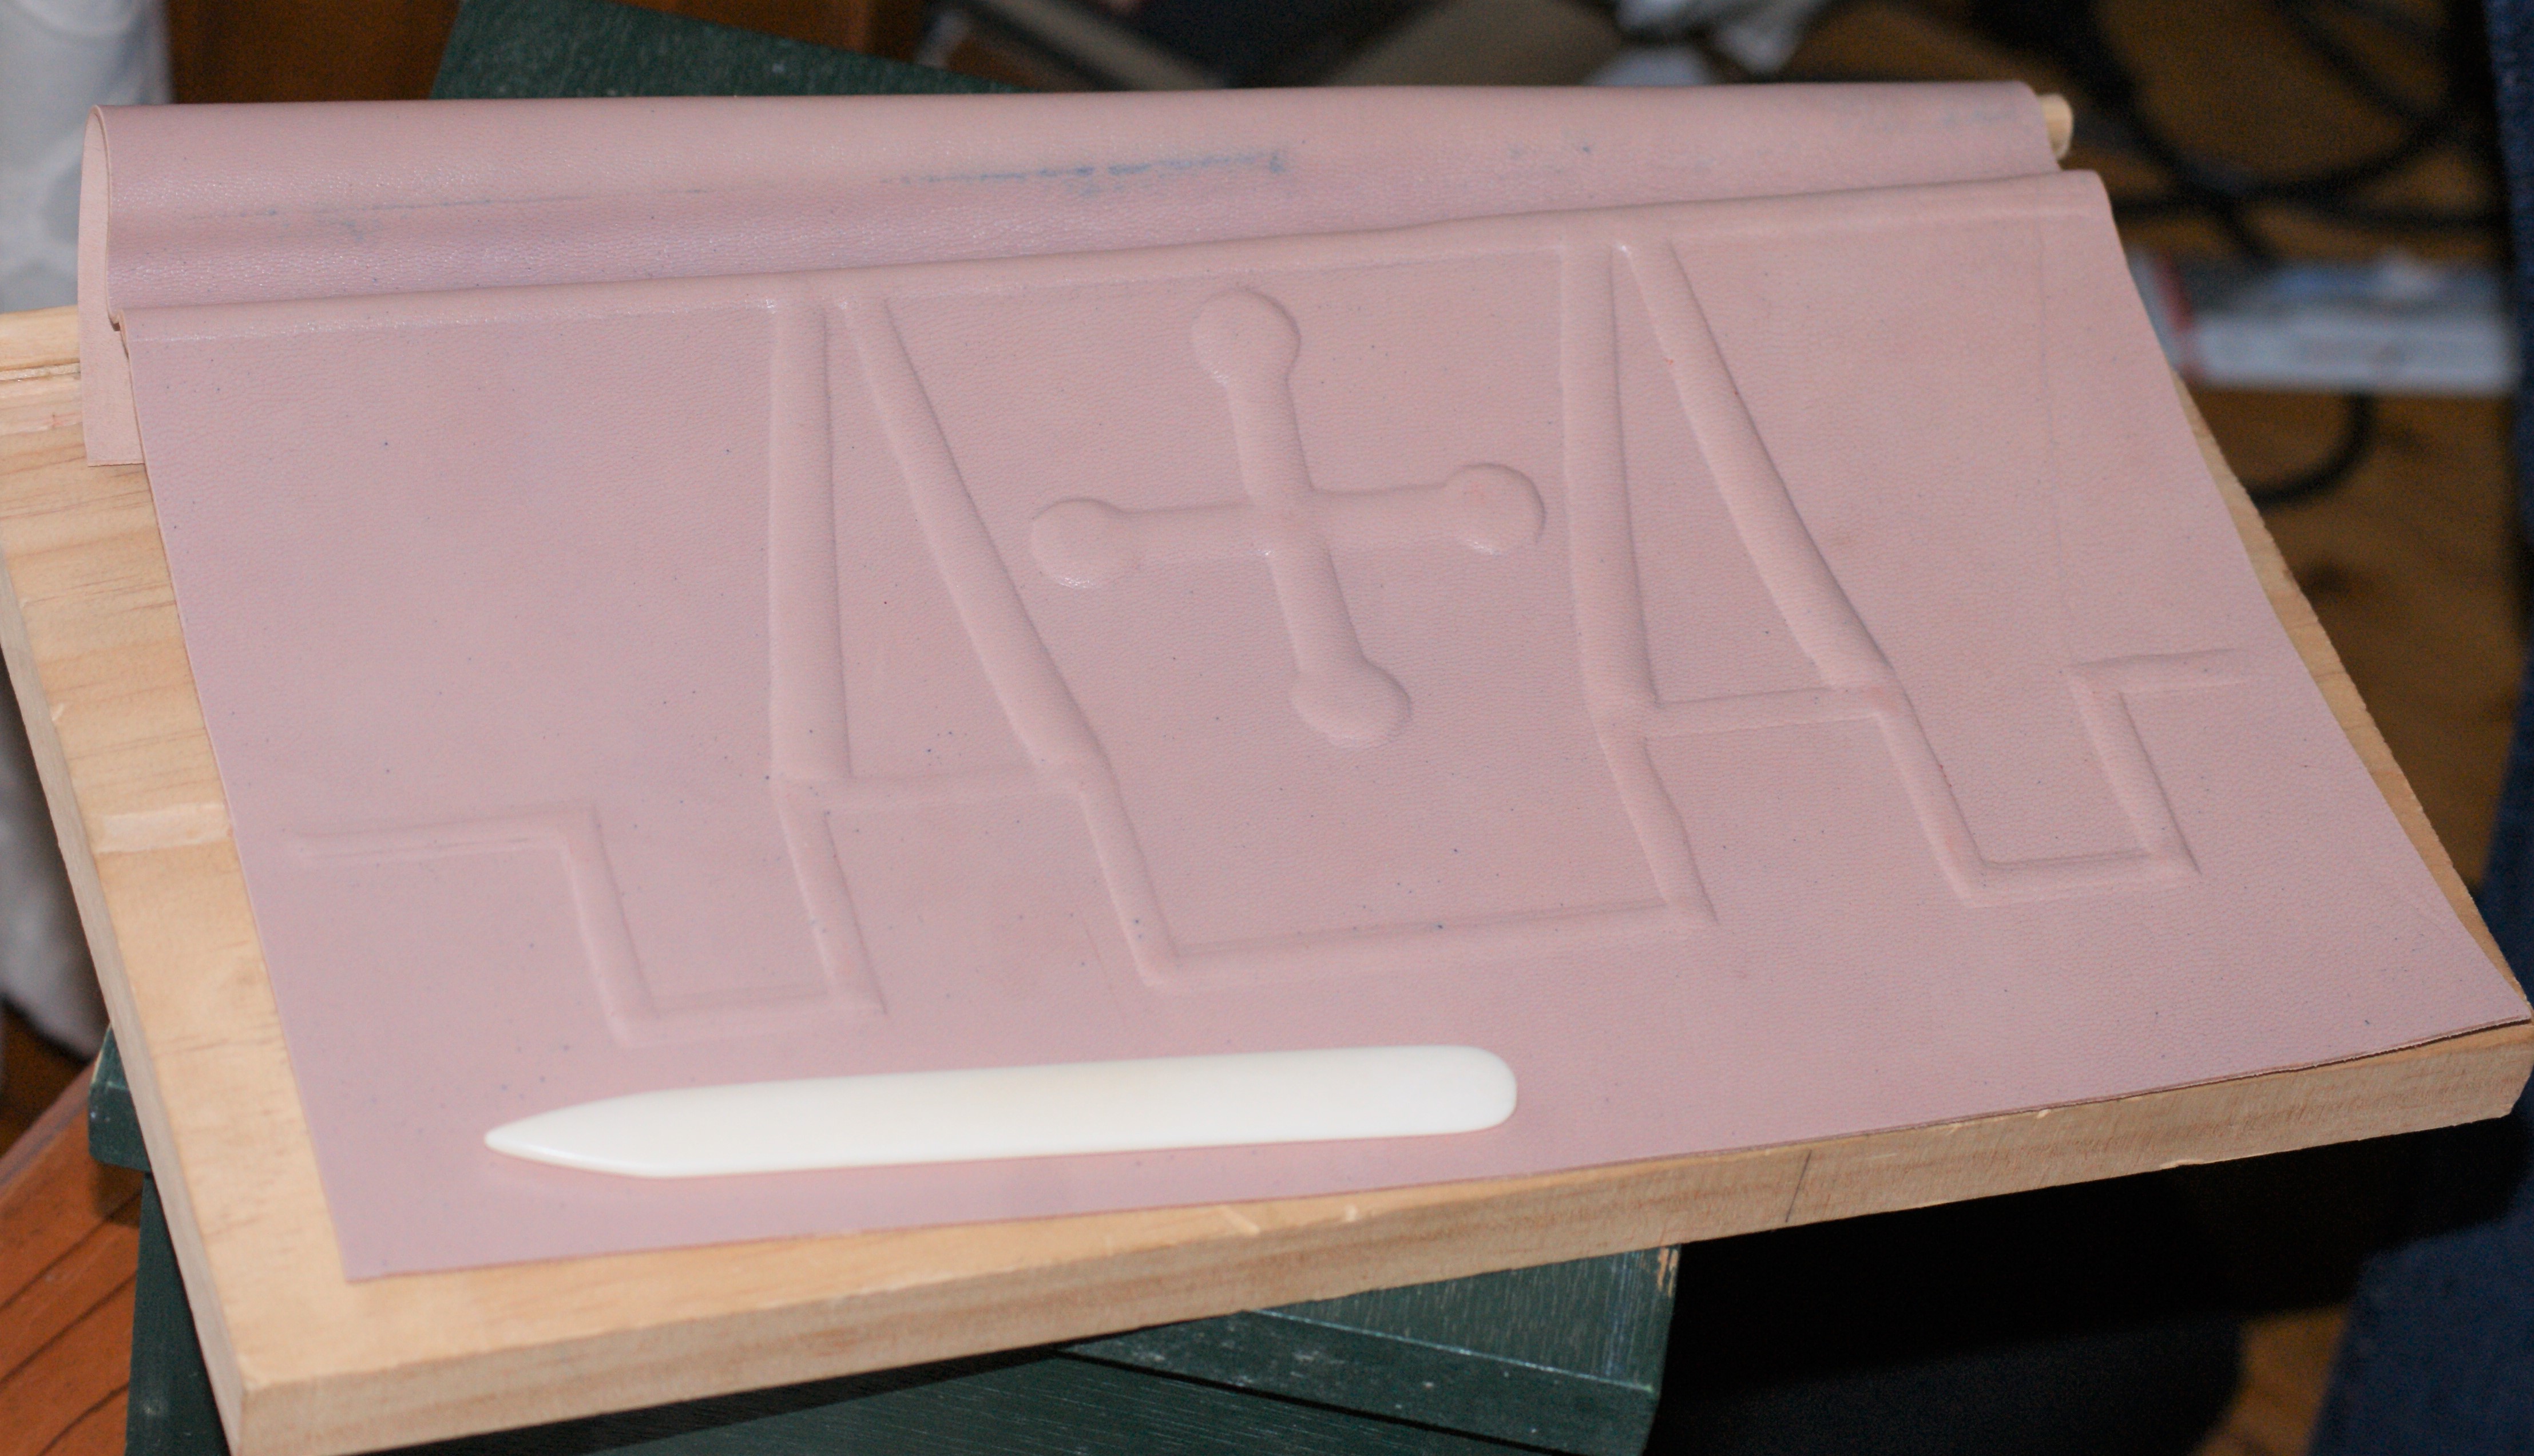
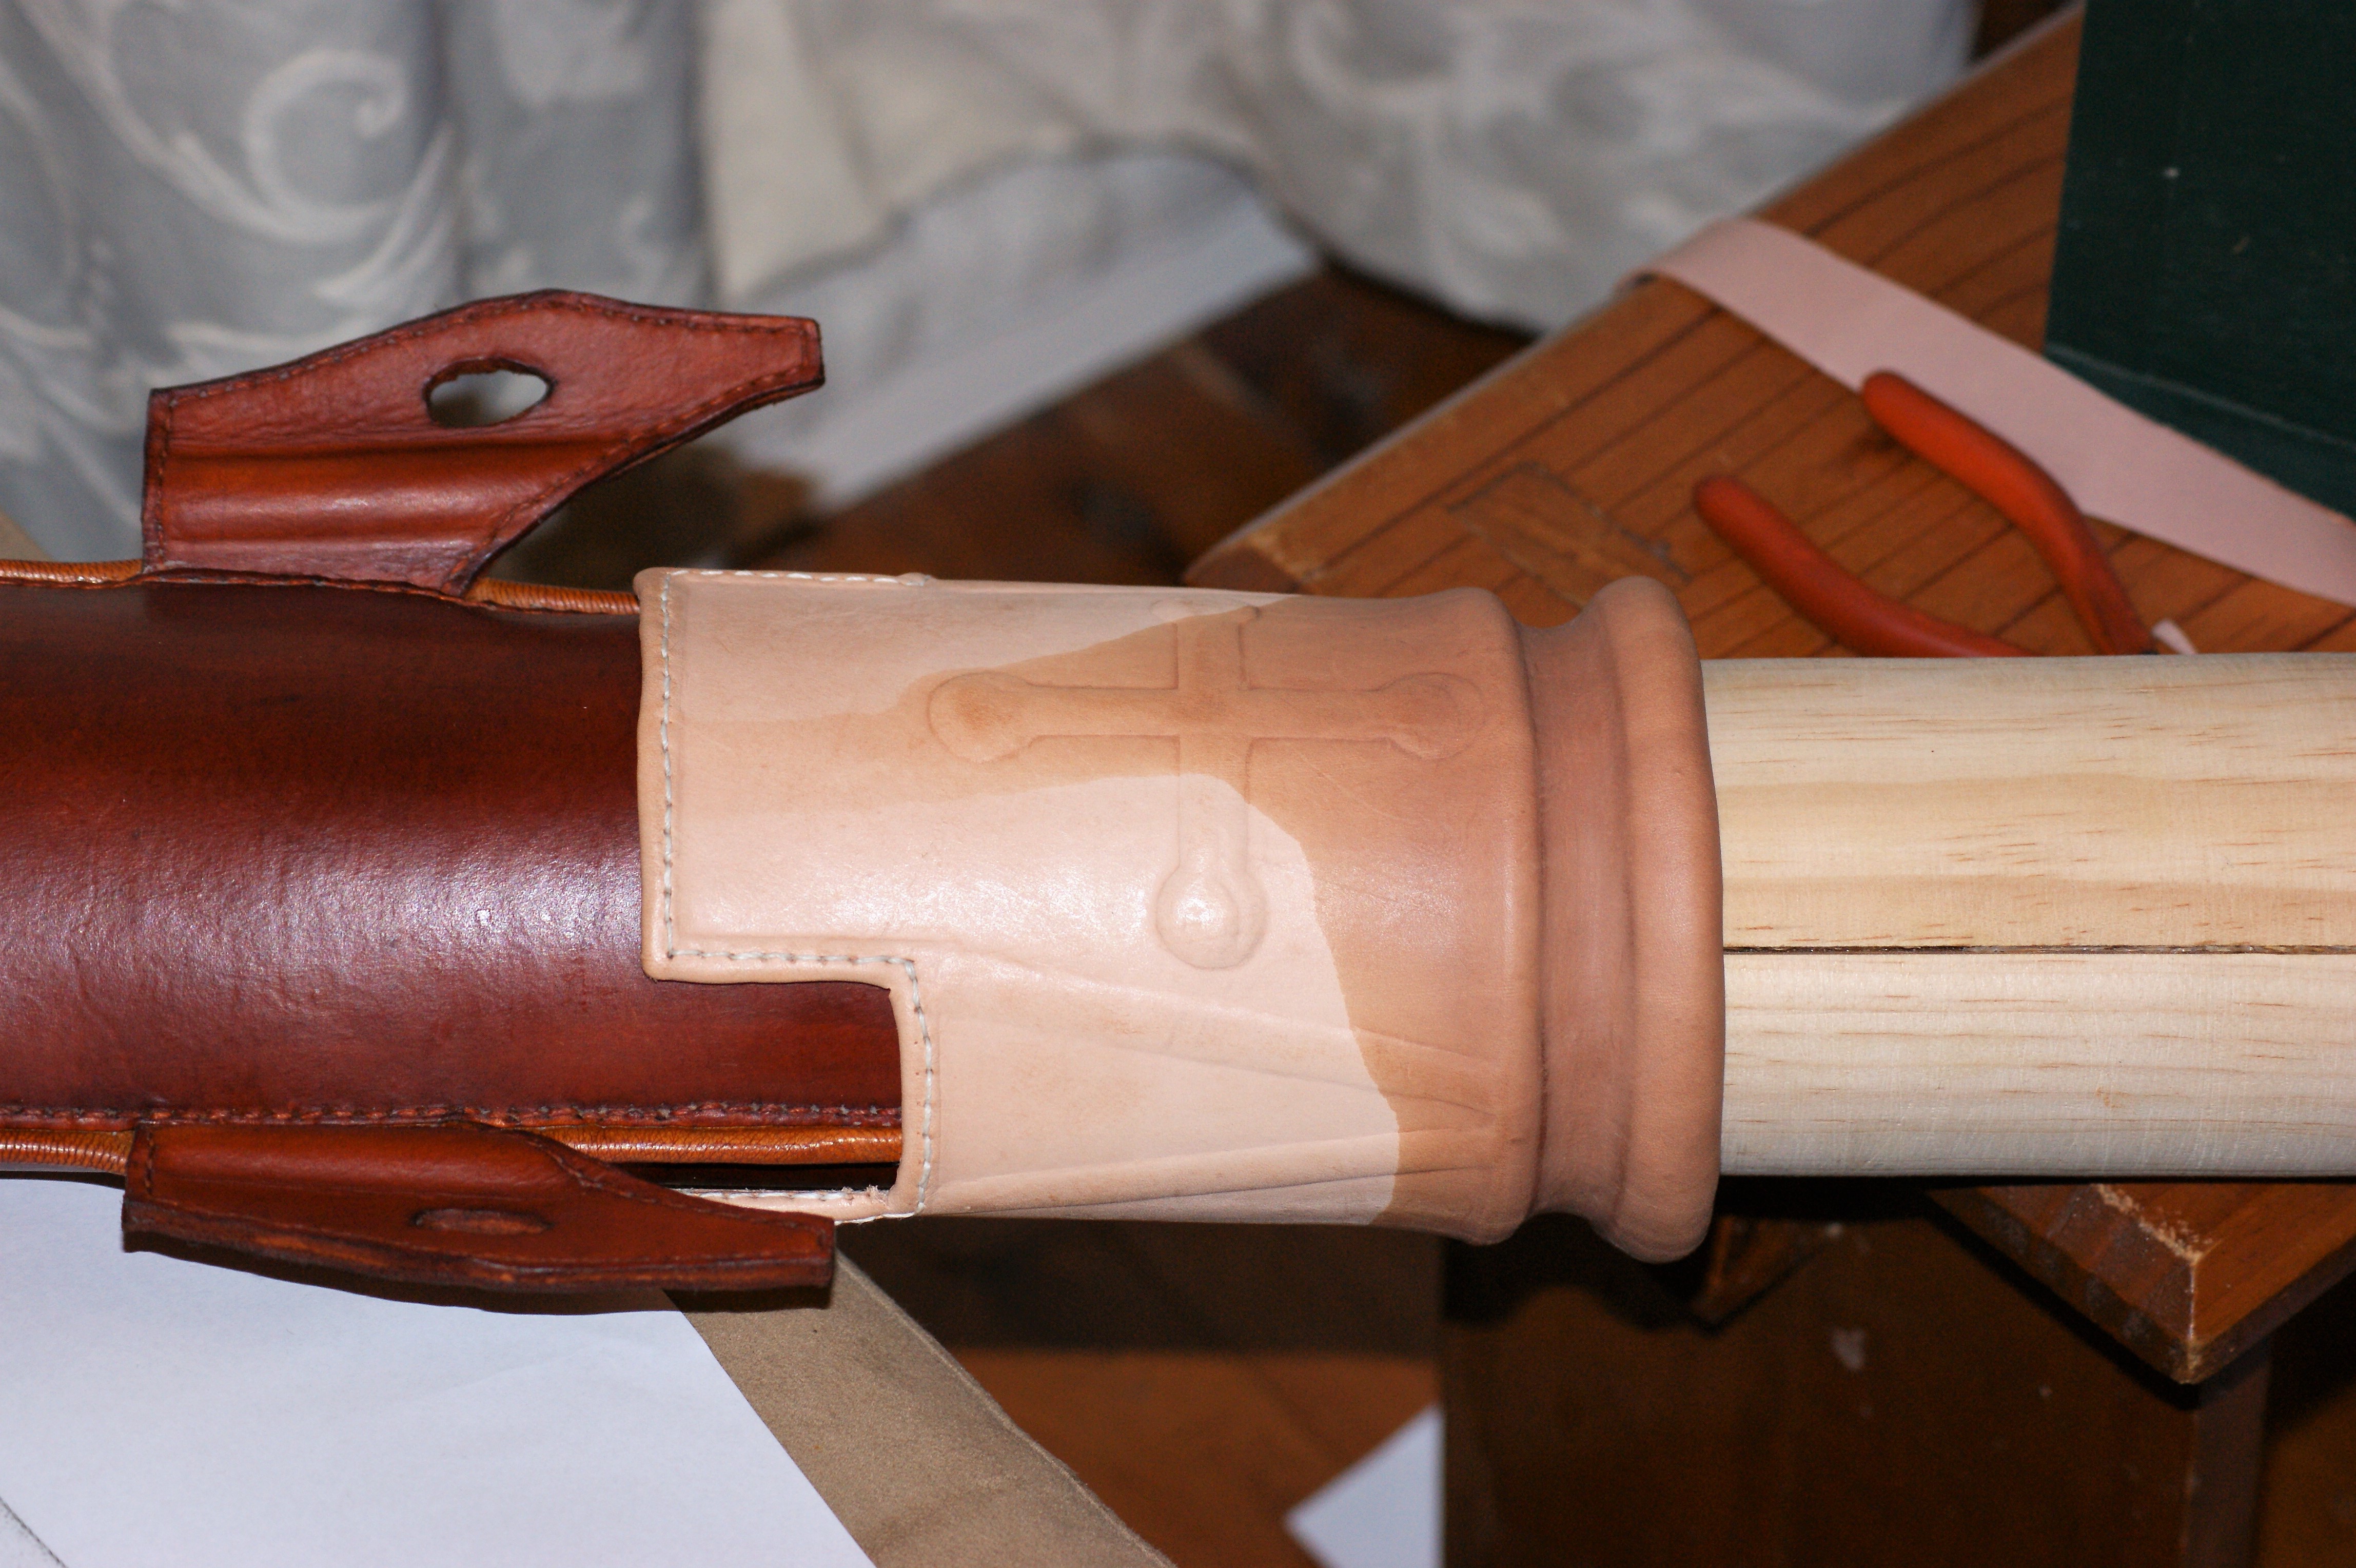
Cut off the spare bits, leaving enough to fold up along the bottom edge. The original has this edge folded and stitched. You may need to skive the edge, depending on how thick the leather is. Fold, stitch, do the back seam and put a roll of leather in the top ring. It comes out looking like this:

SONY DSC

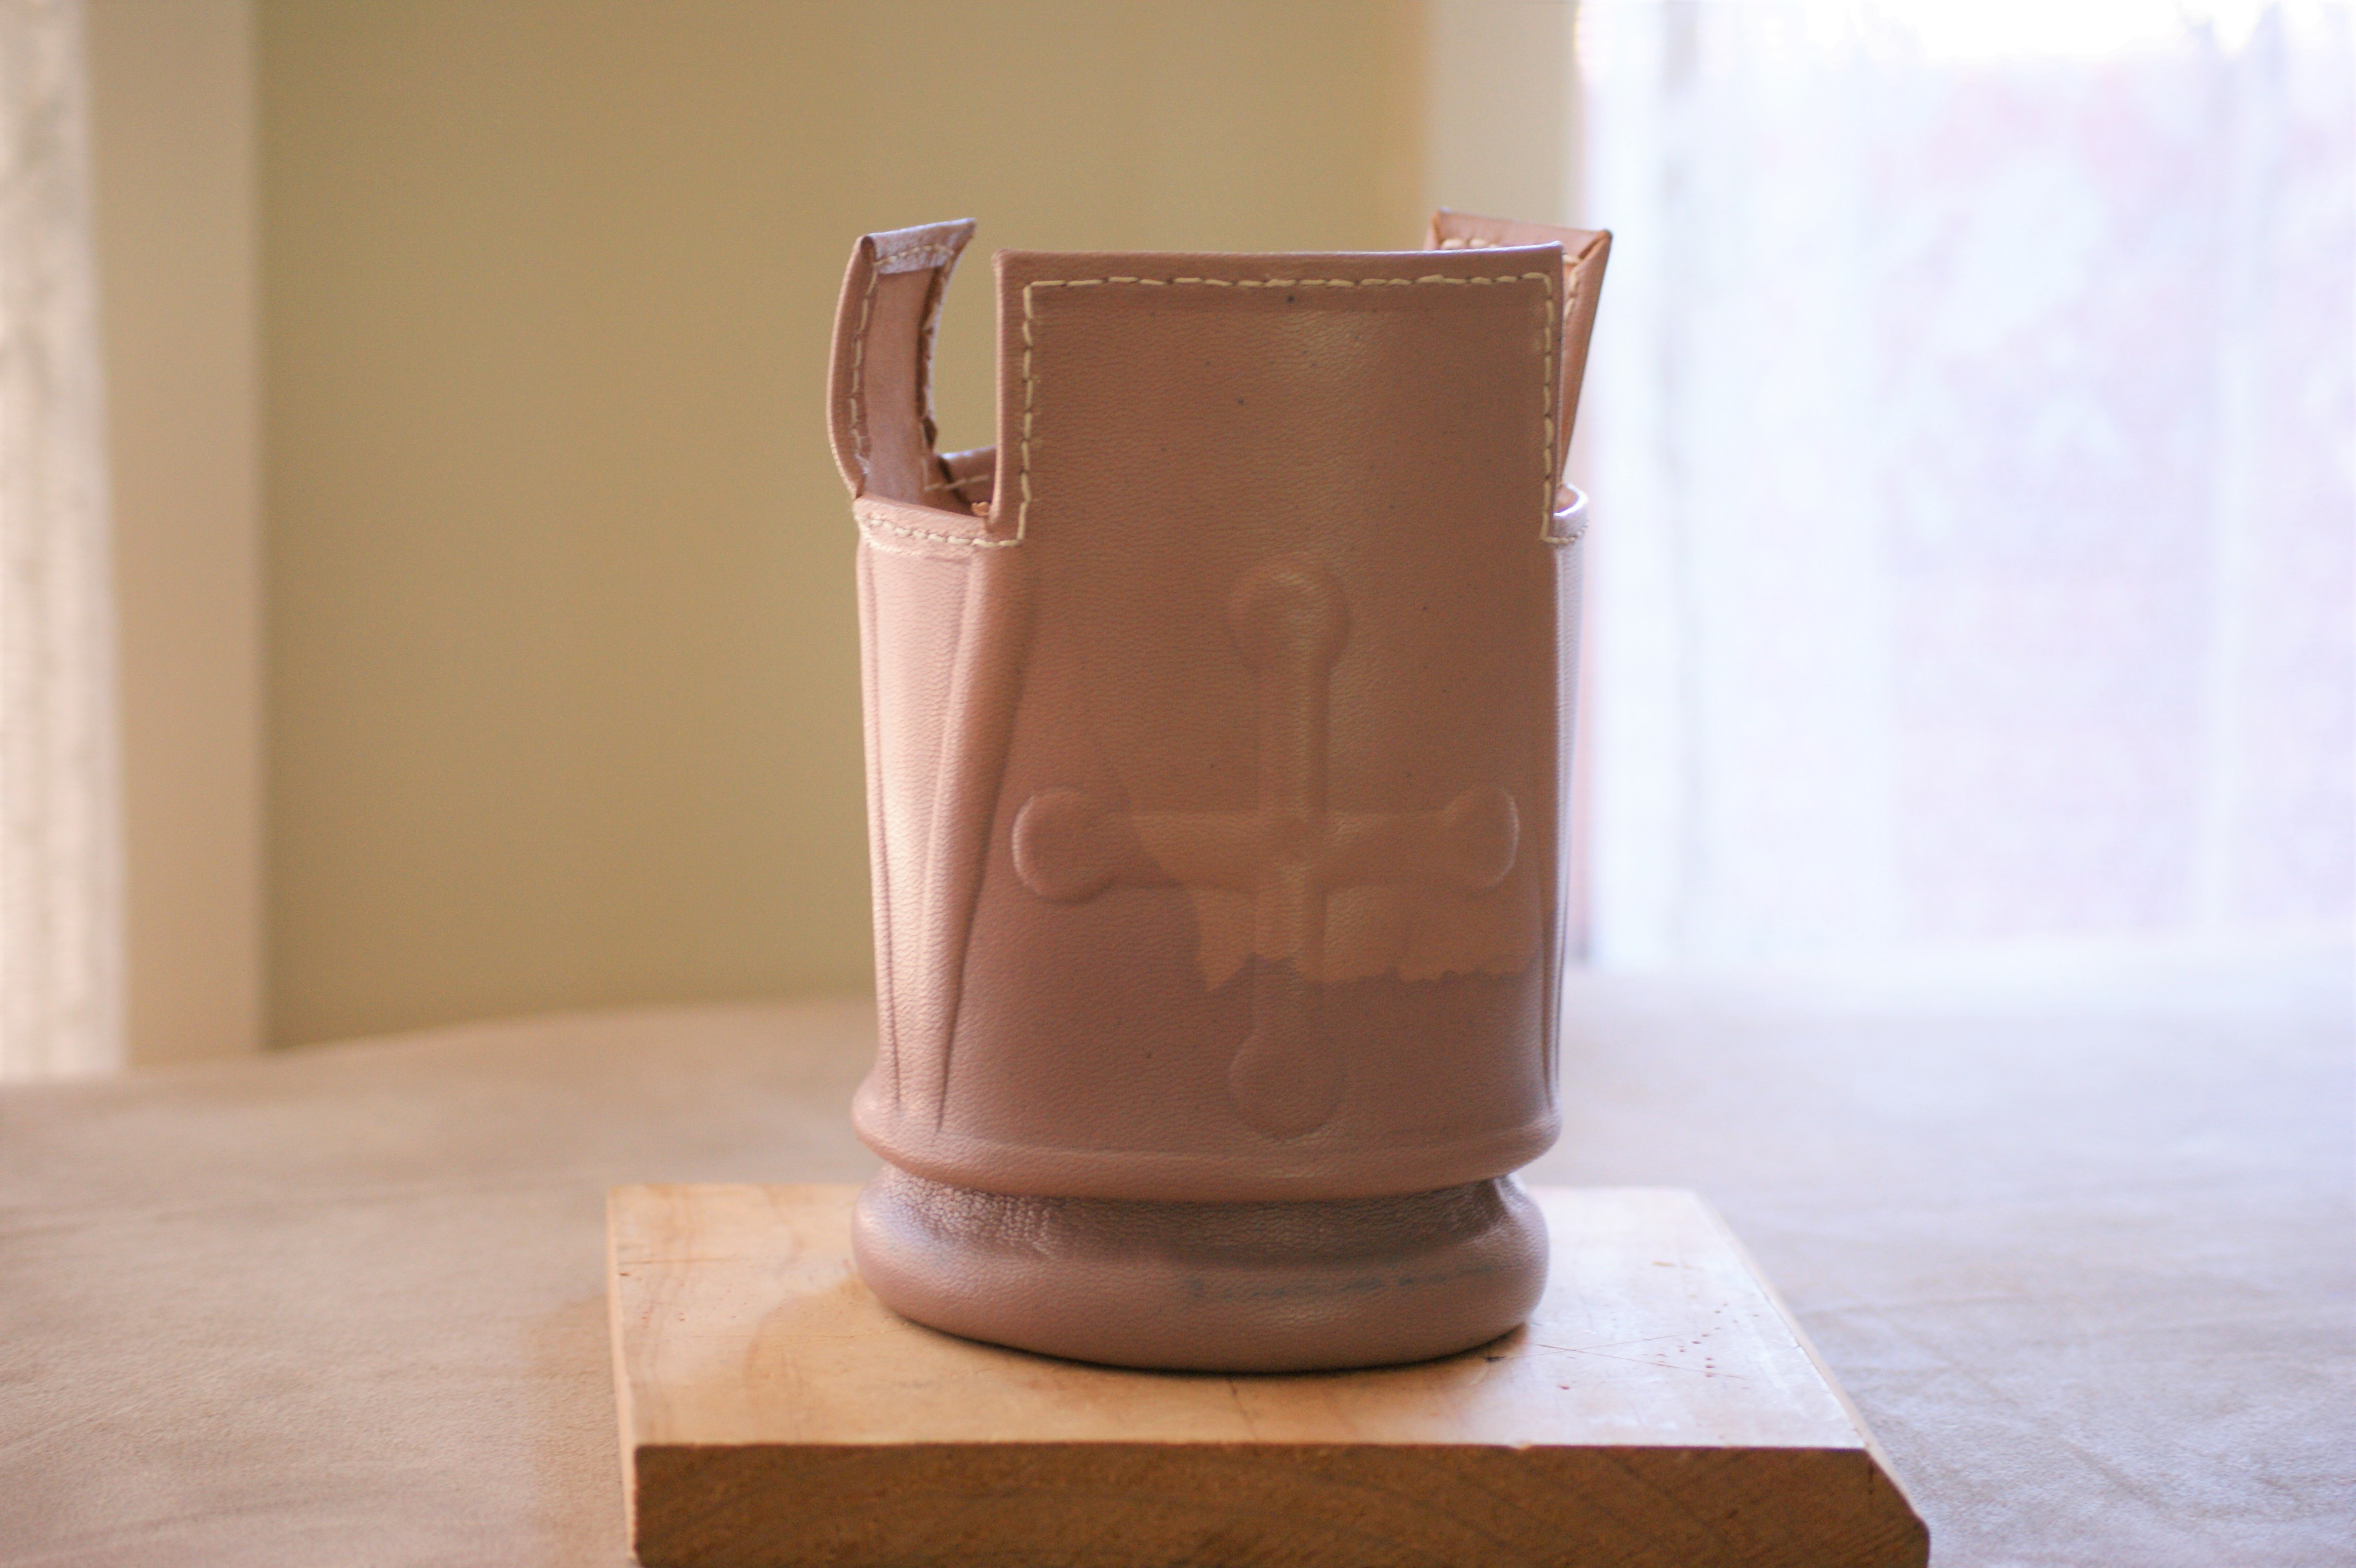
The narrow bit needs a little work, I had to rewet it and gently work it into shape.

Dye this bit next…

SONY DSC

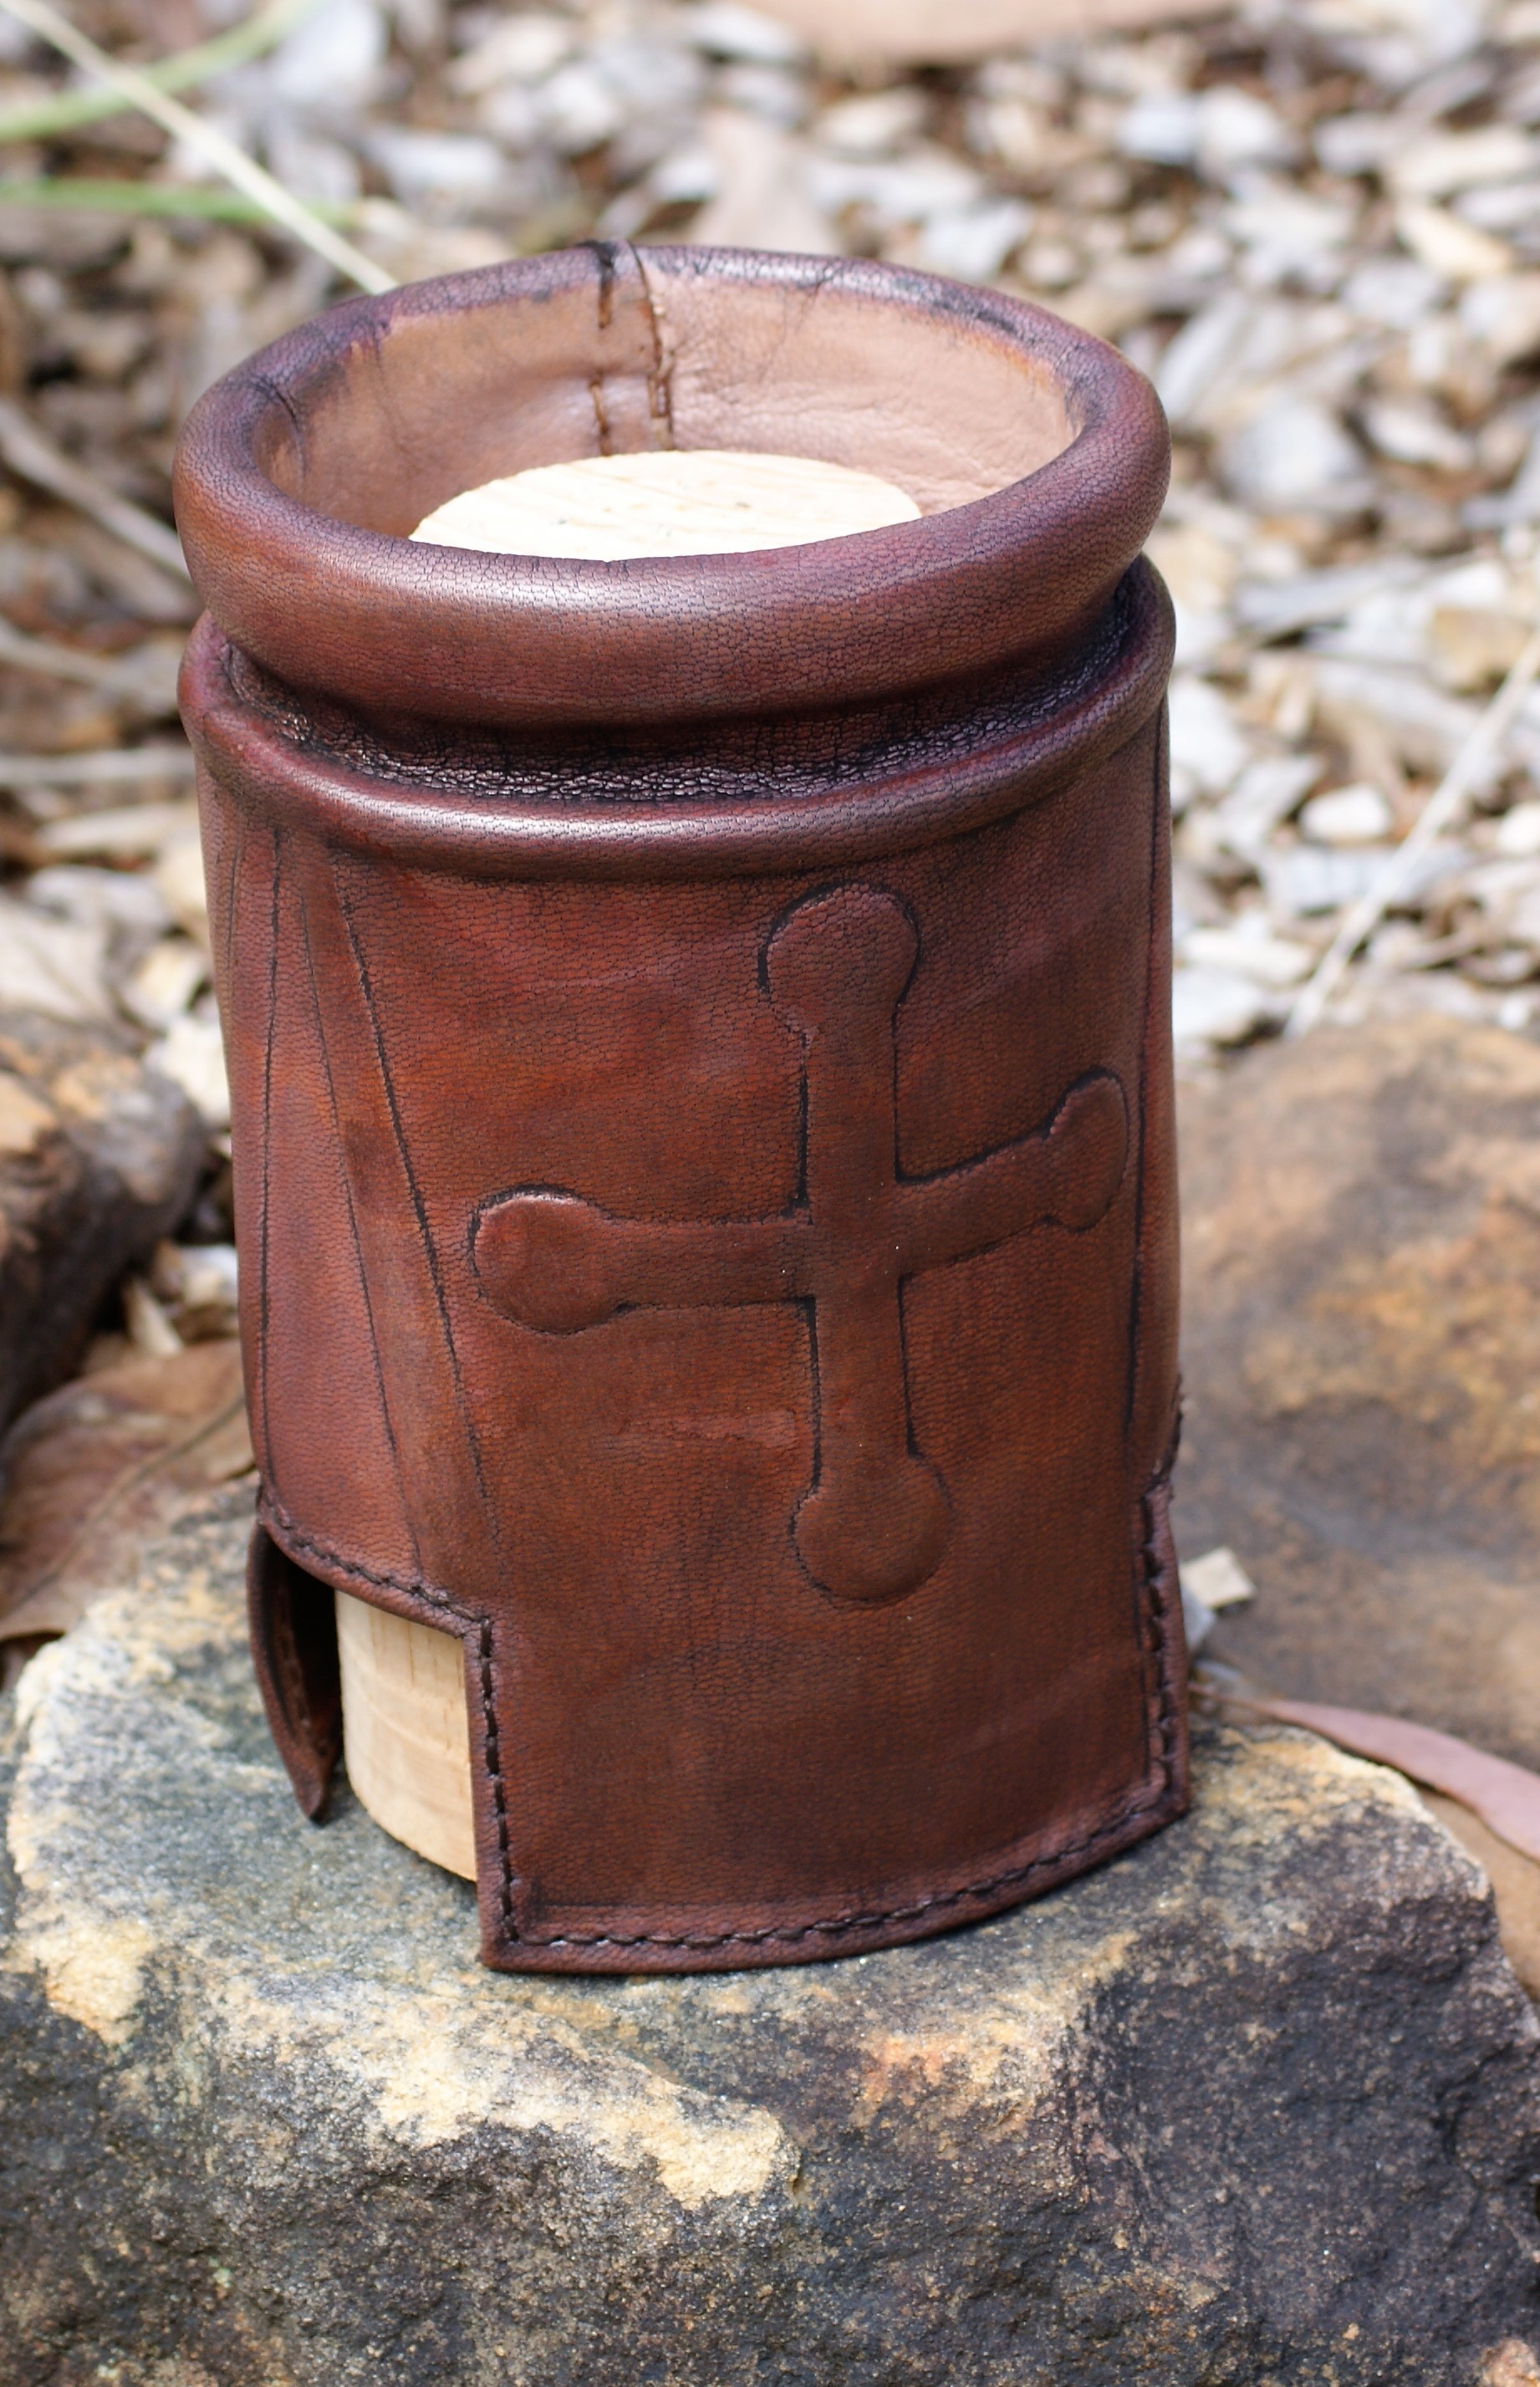
and discover that this piece of leather won’t take darker brown dye. I tried water-, spirit-, and oil-based dyes and none of them worked. I had to hurriedly make a new one from some different leather.

SONY DSC

I think this one is better, anyway. It took the dye properly and I was able to do the seam that holds it all together. Just the hanging straps to go now.


Hedeby quiver erratum

In what should probably come as a surprise to nobody, I made an error in my translation of the original German report. The carrying lugs attach “…at about one-third of the height… (…auf etwa einem Drittel der Höhe…)”. I’d taken that as the full height of the quiver and put them at 20cm/8″ down. They should be at one-third of the height of that front panel at 16cm/6.3″ from the top.

I’ll correct the first post when I get a chance.